Tag: Tech
-
![Designing a Dashboard – [Part one]](https://ezraharris.com/wp-content/uploads/2025/05/image-1-scaled.png)
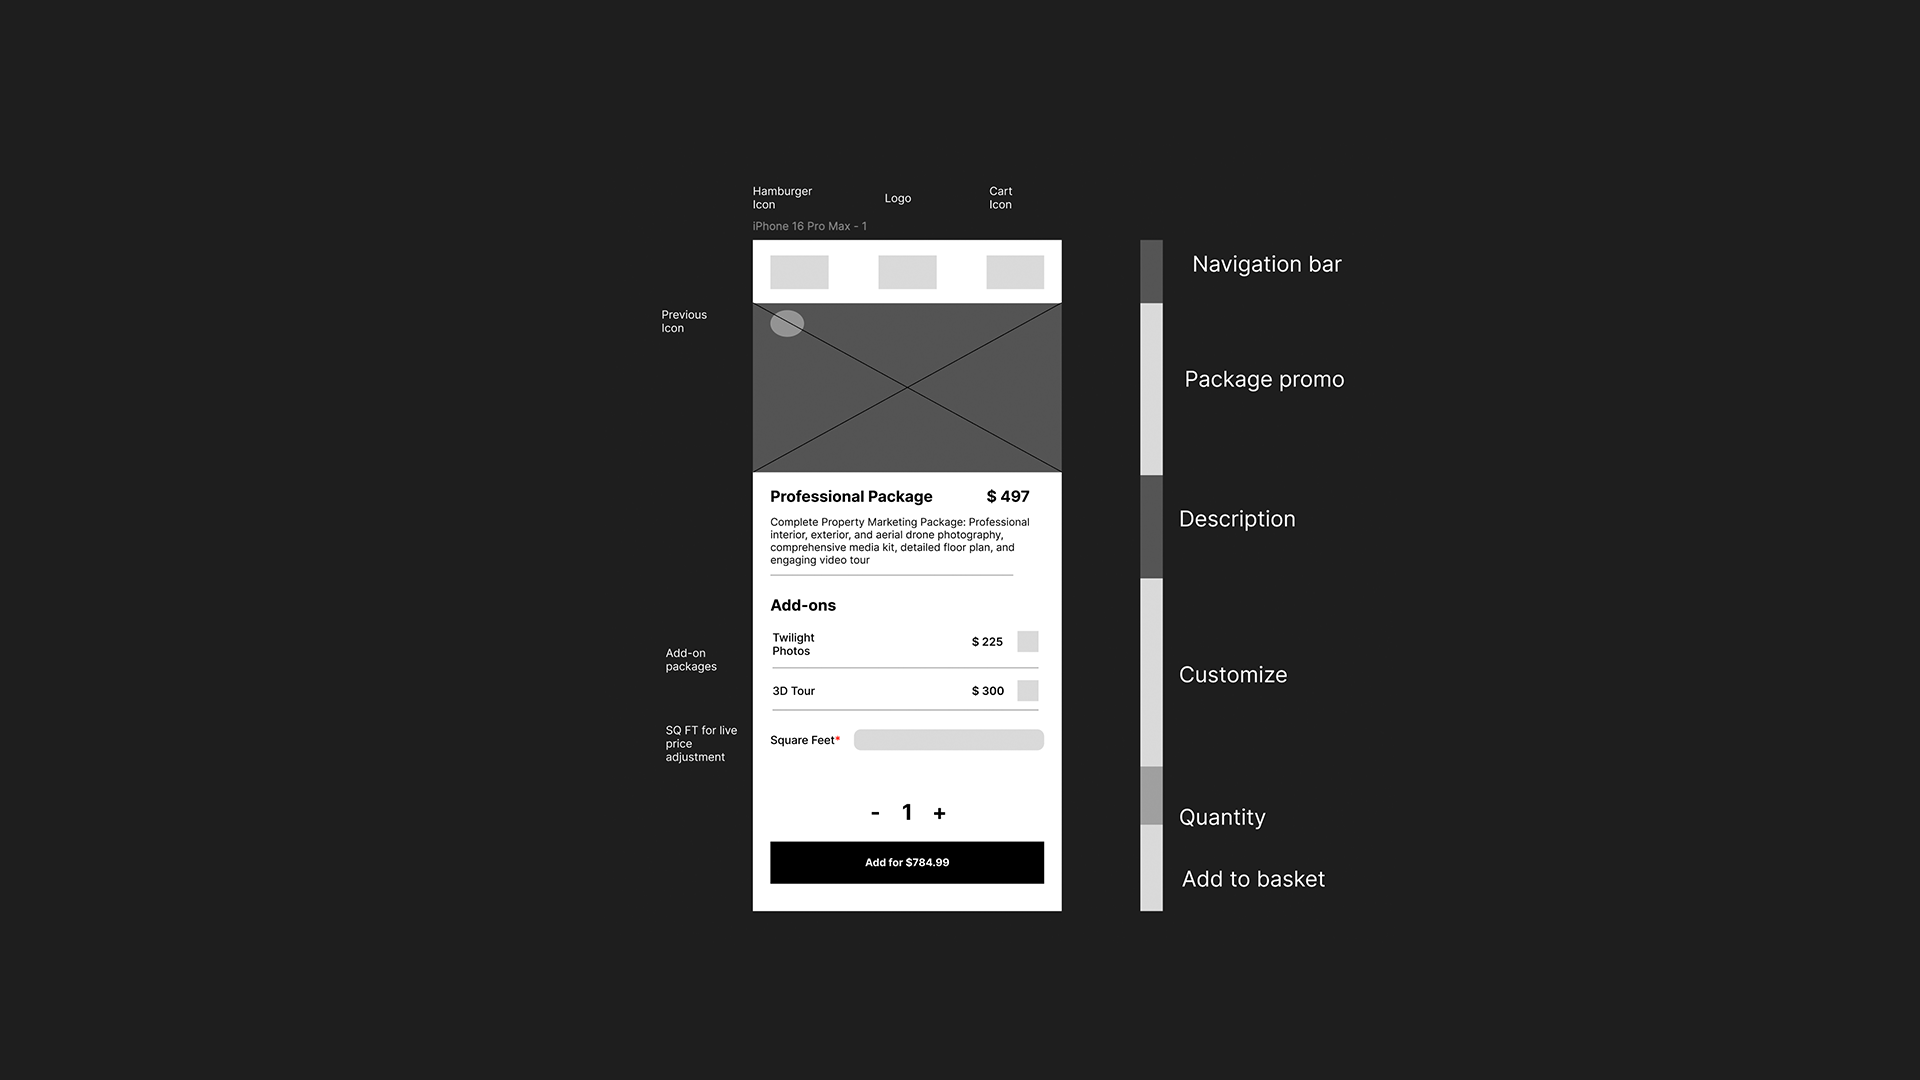
Designing a Dashboard – [Part one]
Last week, I started my first web design project for a client. This project includes the basic construction of a full dashboard, complete with grids, data analytics, and options to create items in the grids. The backend will be done with Xano, which will handle all databases and authentication with the API requests. In the…
-
Figma Design Basics – MFED 07
Some really neat features of Figma I’ve learned from the course are micro animations and micro interactions. Micro-interactions are a way of engaging with the user to make the user feel more accomplished in small tasks, for example. When you double tap an image on Instagram, it will show a heart emoji animation over the…
-
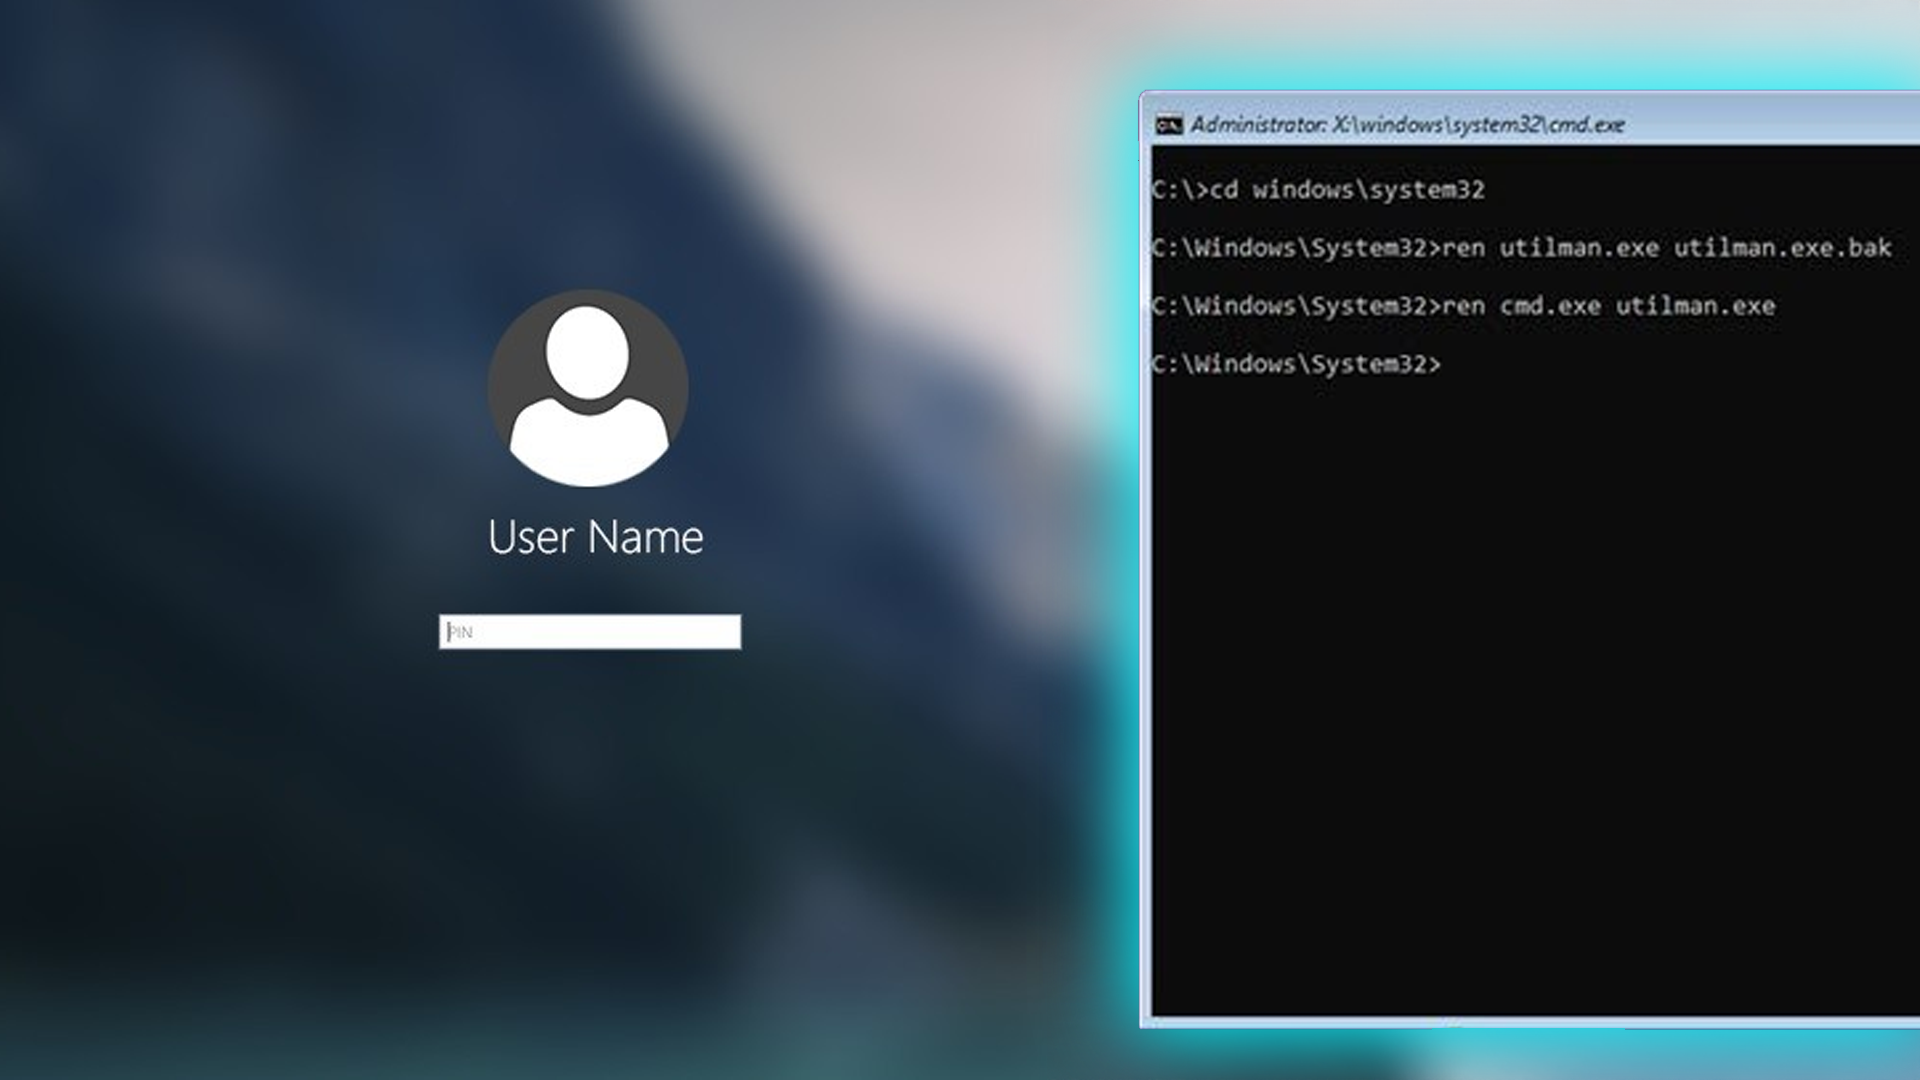
Bypassing Windows Login
I recently helped a friend with a laptop that had a forgotten password and had been locked out. I learned a new way of bypassing the basic Windows login with little effort.
-
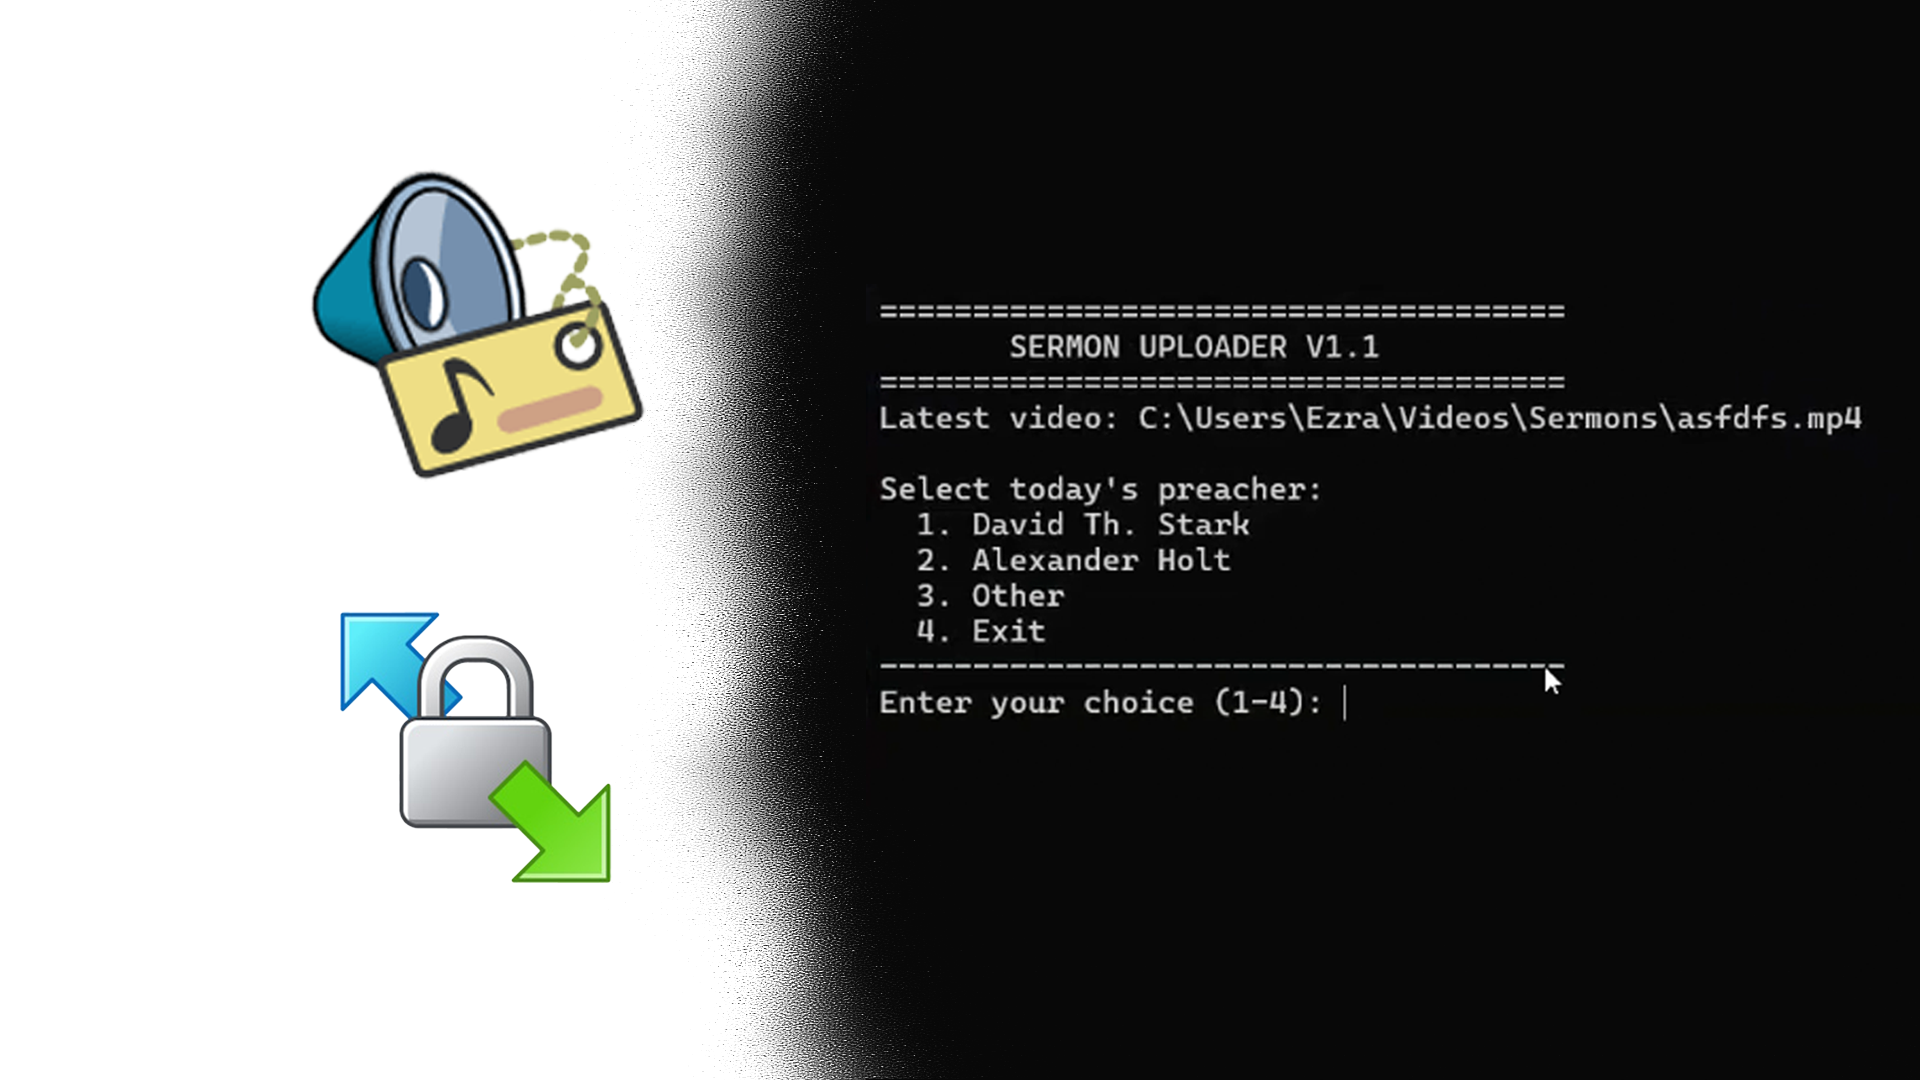
Automating video uploads
In my never-ending efforts to simplify/automate the process for my Church’s A/V behind its Live streams and slideshows. I have struggled with uploading to the various video hosting platforms for its sermons. SermonAudio’s primary purpose is to host Sermons. However, as of 2019, they have added the streaming features we use to stream and re-distribute…