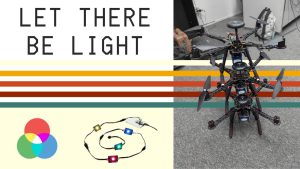
I got the NeoPixel LEDs working with Arducopter and natively updating with the Drone’s current status:
- Green = Armed & Ready
- Blinking Yellow = PreArm Check
- Red = Error / Failsafe
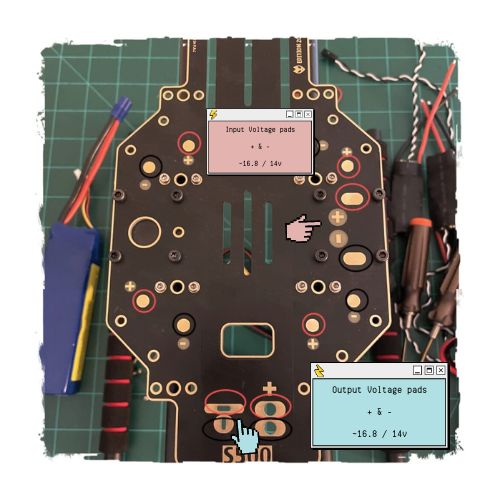
The hardware setup for powering the lights was as easy as soldering my UBec to the output voltage pads to take power directly from the battery input.

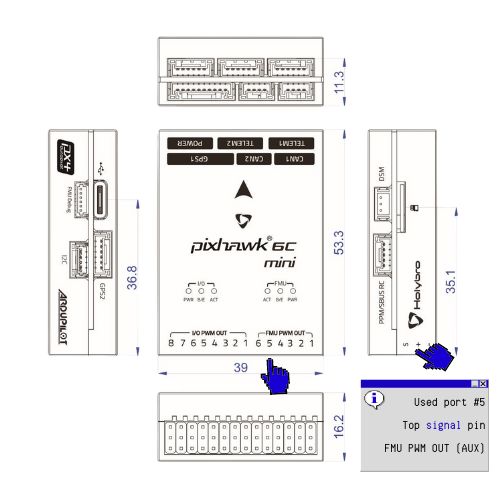
The wiring for controlling the LEDs was also fairly straightforward. I utilized one of the six open FMU PWM OUT ports’ signal pins. In PX4’s documentation, they list the FMU PWM OUT as AUX ports, which will be suitable for this case.

I also used an Arduino Dupont wire from (S) Signal for initial testing. The other end of the wire was connected to the Neopixel’s middle signal wire.
It was a bit of trial and error for software, but overall, it was not a big hurdle; I changed the following parameters to let ArduCopter know there is a Neopixel connected to one of the FMU PWM ports. (Which, in this case, is classified as an AUX port, according to ArduCopter):
| SHOW_LED0_CHAN | 13 |
| SHOW_LED0_COUNT | 1 |
| SHOW_LED0_TYPE | 10 |
SHOW_LED0_CHAN sets the channel for which the Neopixel is connected. In this case, channel five on the FMU OUT is equivalent to AUX 13.
As the parameter implies, SHOW_LED0_COUNT is the number of LEDs chained together since most people plan to chain more than one LED.
SHOW_LED0_TYPE is the type of LED that is connected. For my specific case, I have a Neopixel RGBW assigned to 10. There is a non-RGBW Neopixel variant which has the assigned value of 3.
A quick reboot will apply the settings, and from there, I was able to change the lights and test them using Skybrush Live.
This post is part of a series of posts on drone light shows. I am actively updating docs.ezraharris.com to provide more step-by-step instructions while configuring Drones for a light show.

Leave a Reply