
How to Setup a Minecraft Server (The easy way)
· 2 min read
I recently made a Minecraft server, but the way I did it required a lot of knowledge and a lot of tutorial following to complete. So instead of trying to explain to my friends how to make a Minecraft server the way I did. But I found out about an in-game command called /publish. With the /publish command, you can host the server on any port of your choosing by doing, for example: /publish 25565.
And so I have made a quick and easy tutorial on how to set up a Minecraft server the easy way:
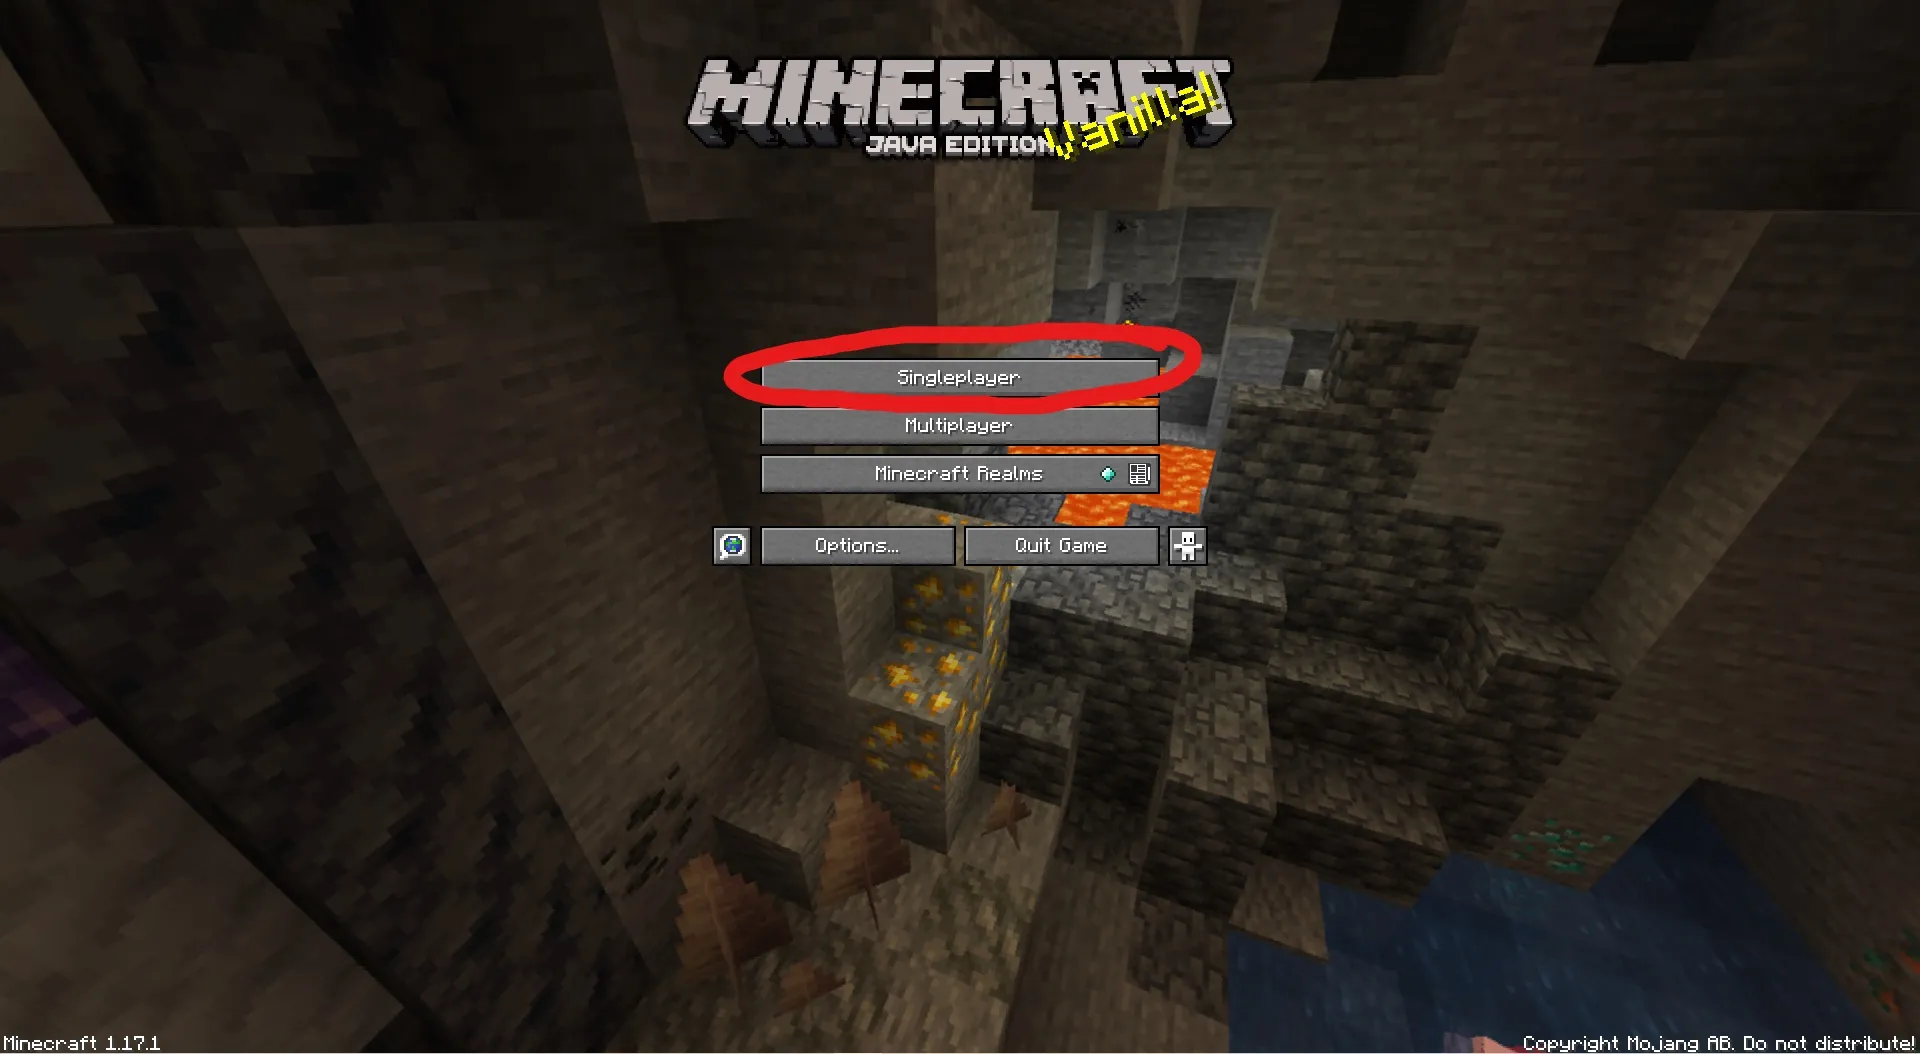
STEP 1: Open Minecraft and select "Singleplayer"
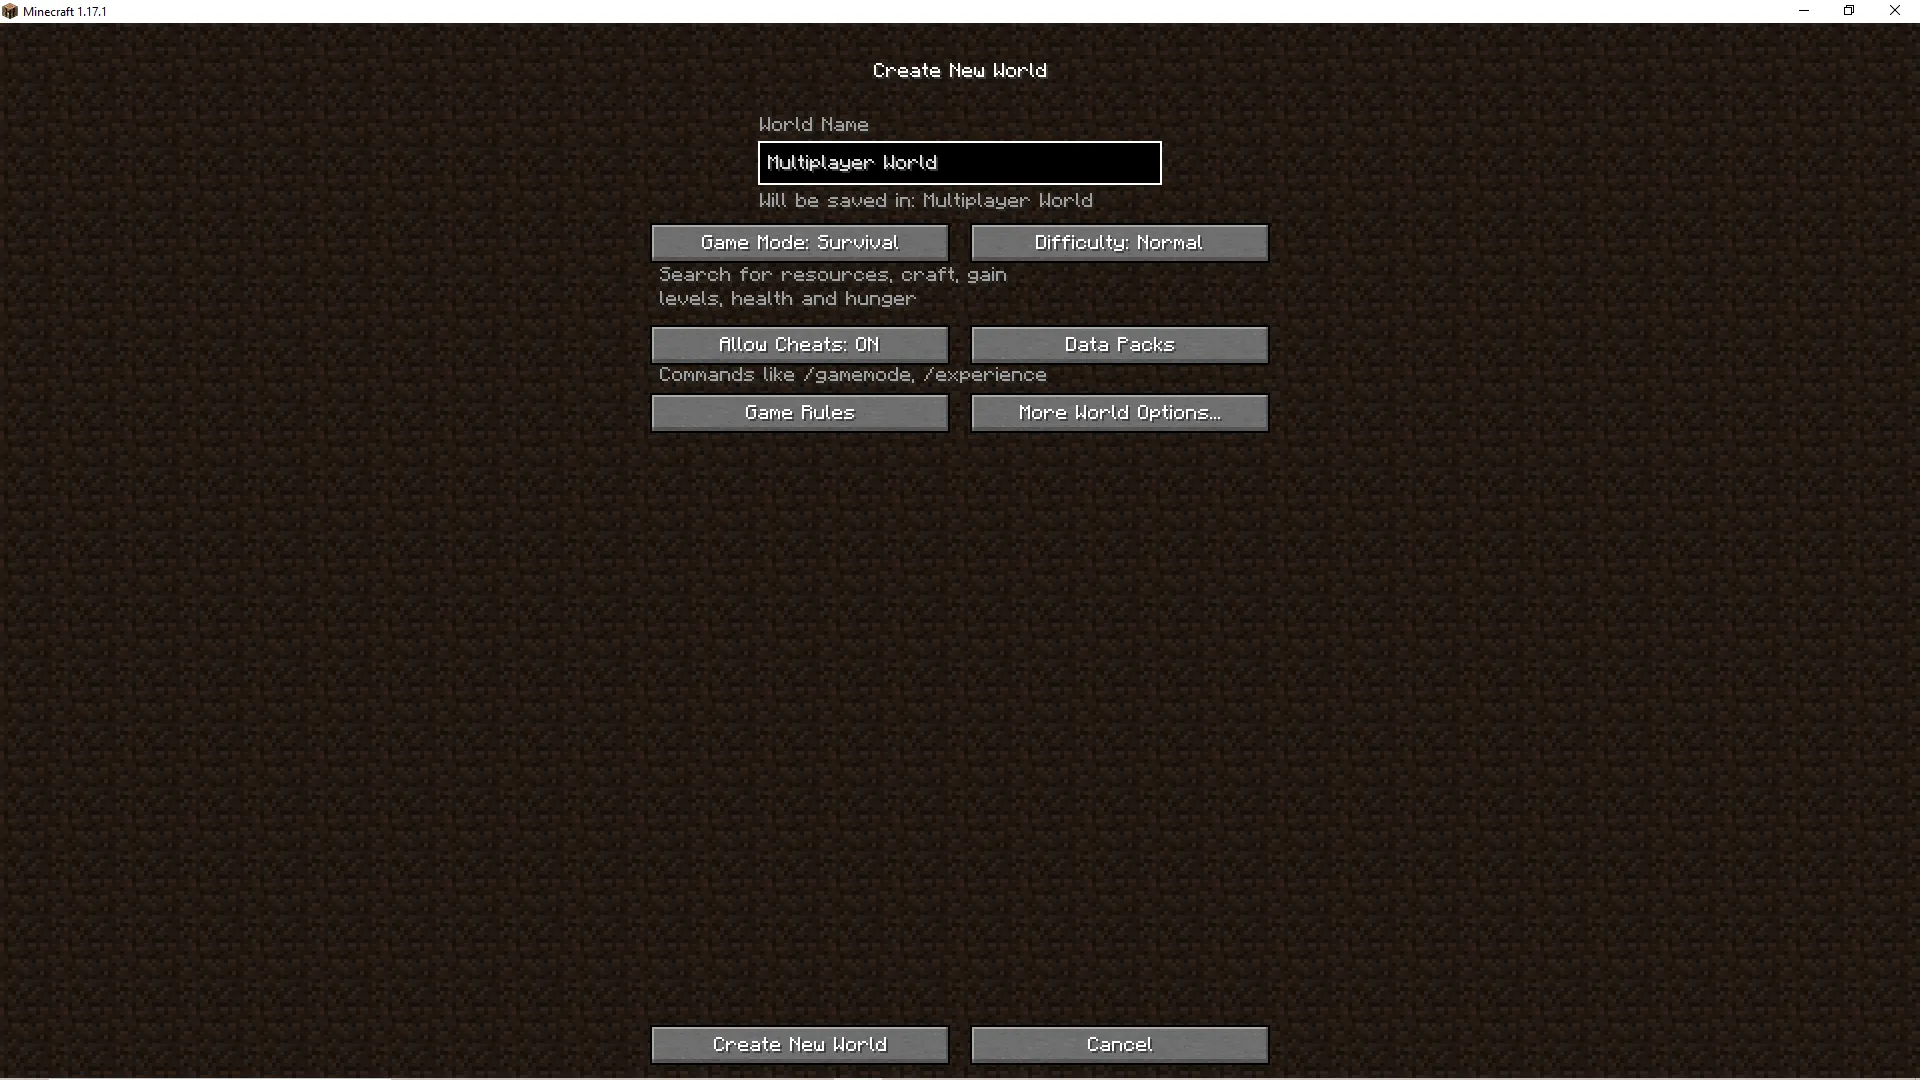
STEP 2: Create a new world and make sure to enable cheats. You can change the other world settings to how you like.
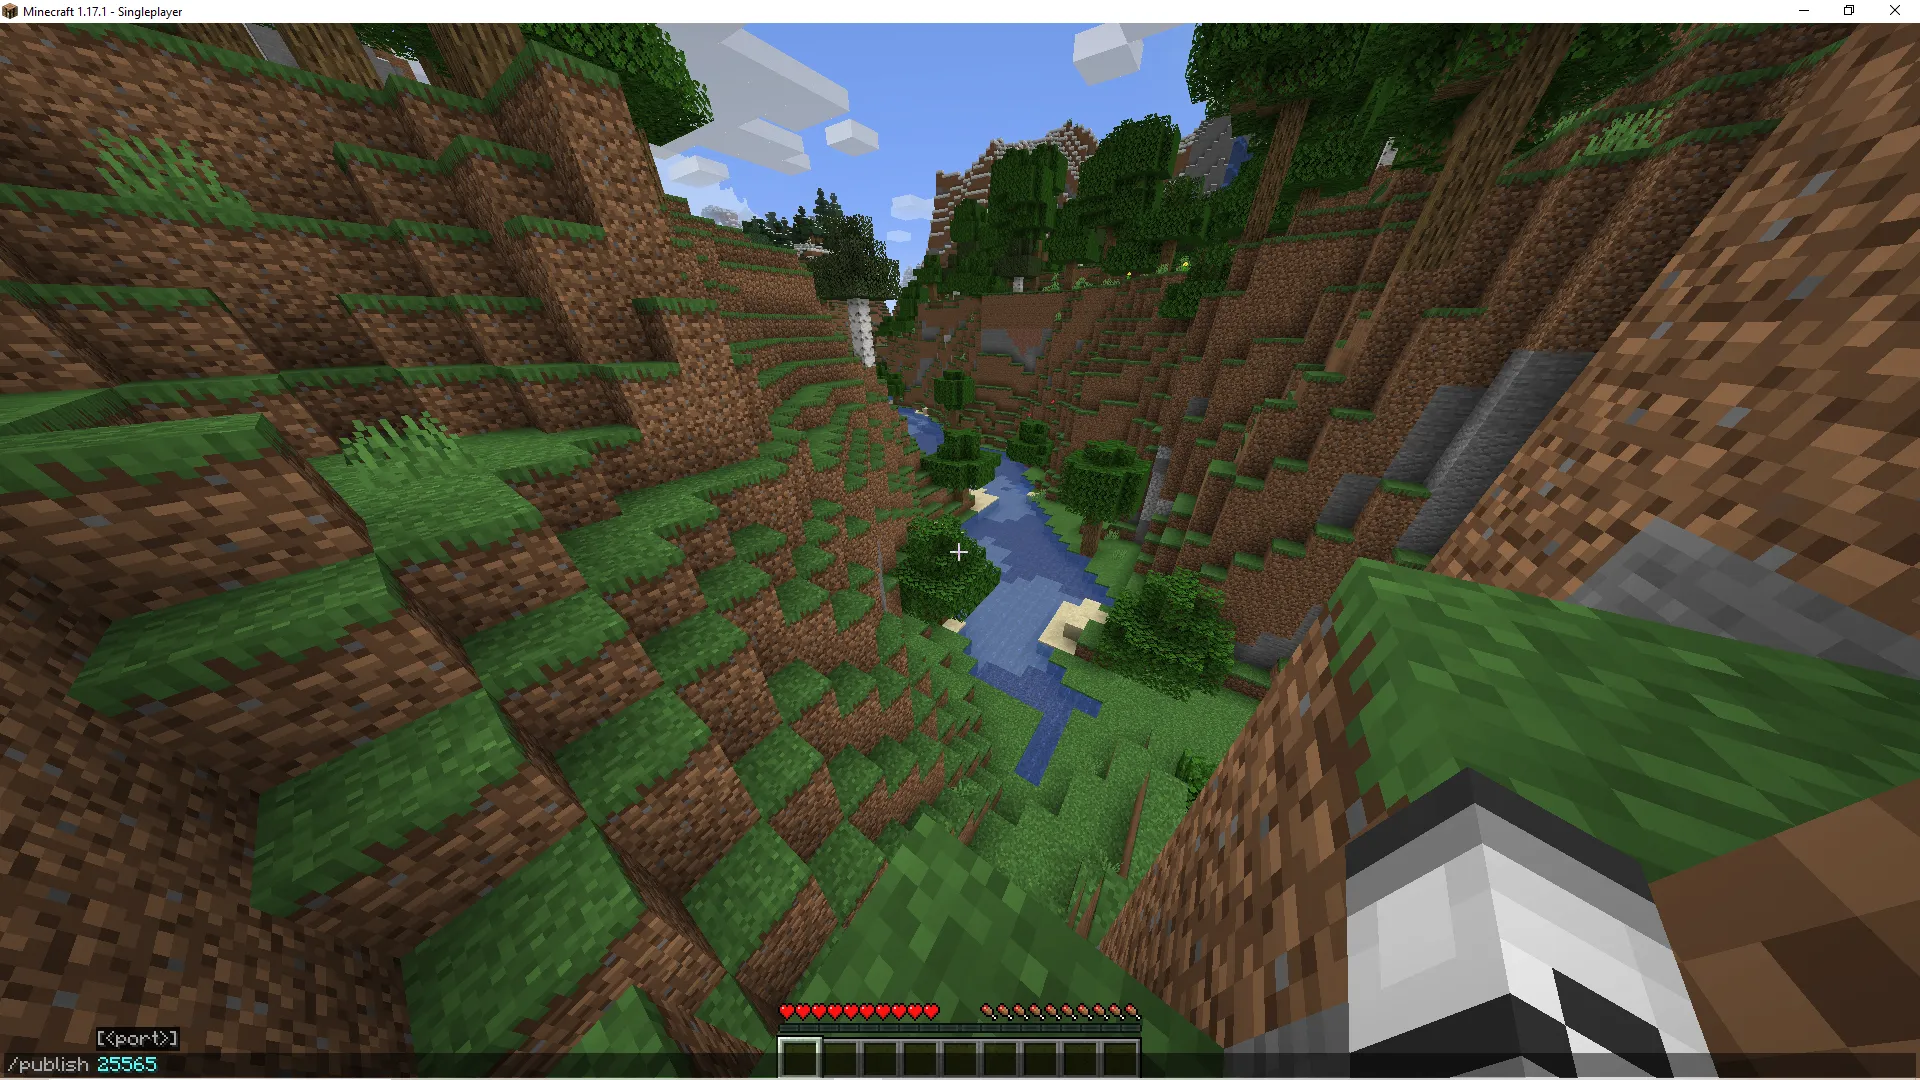
STEP 3: Once the world has loaded, type this into chat: /publish 25565; it should return. "Multiplayer game is now hosted on port 25565."
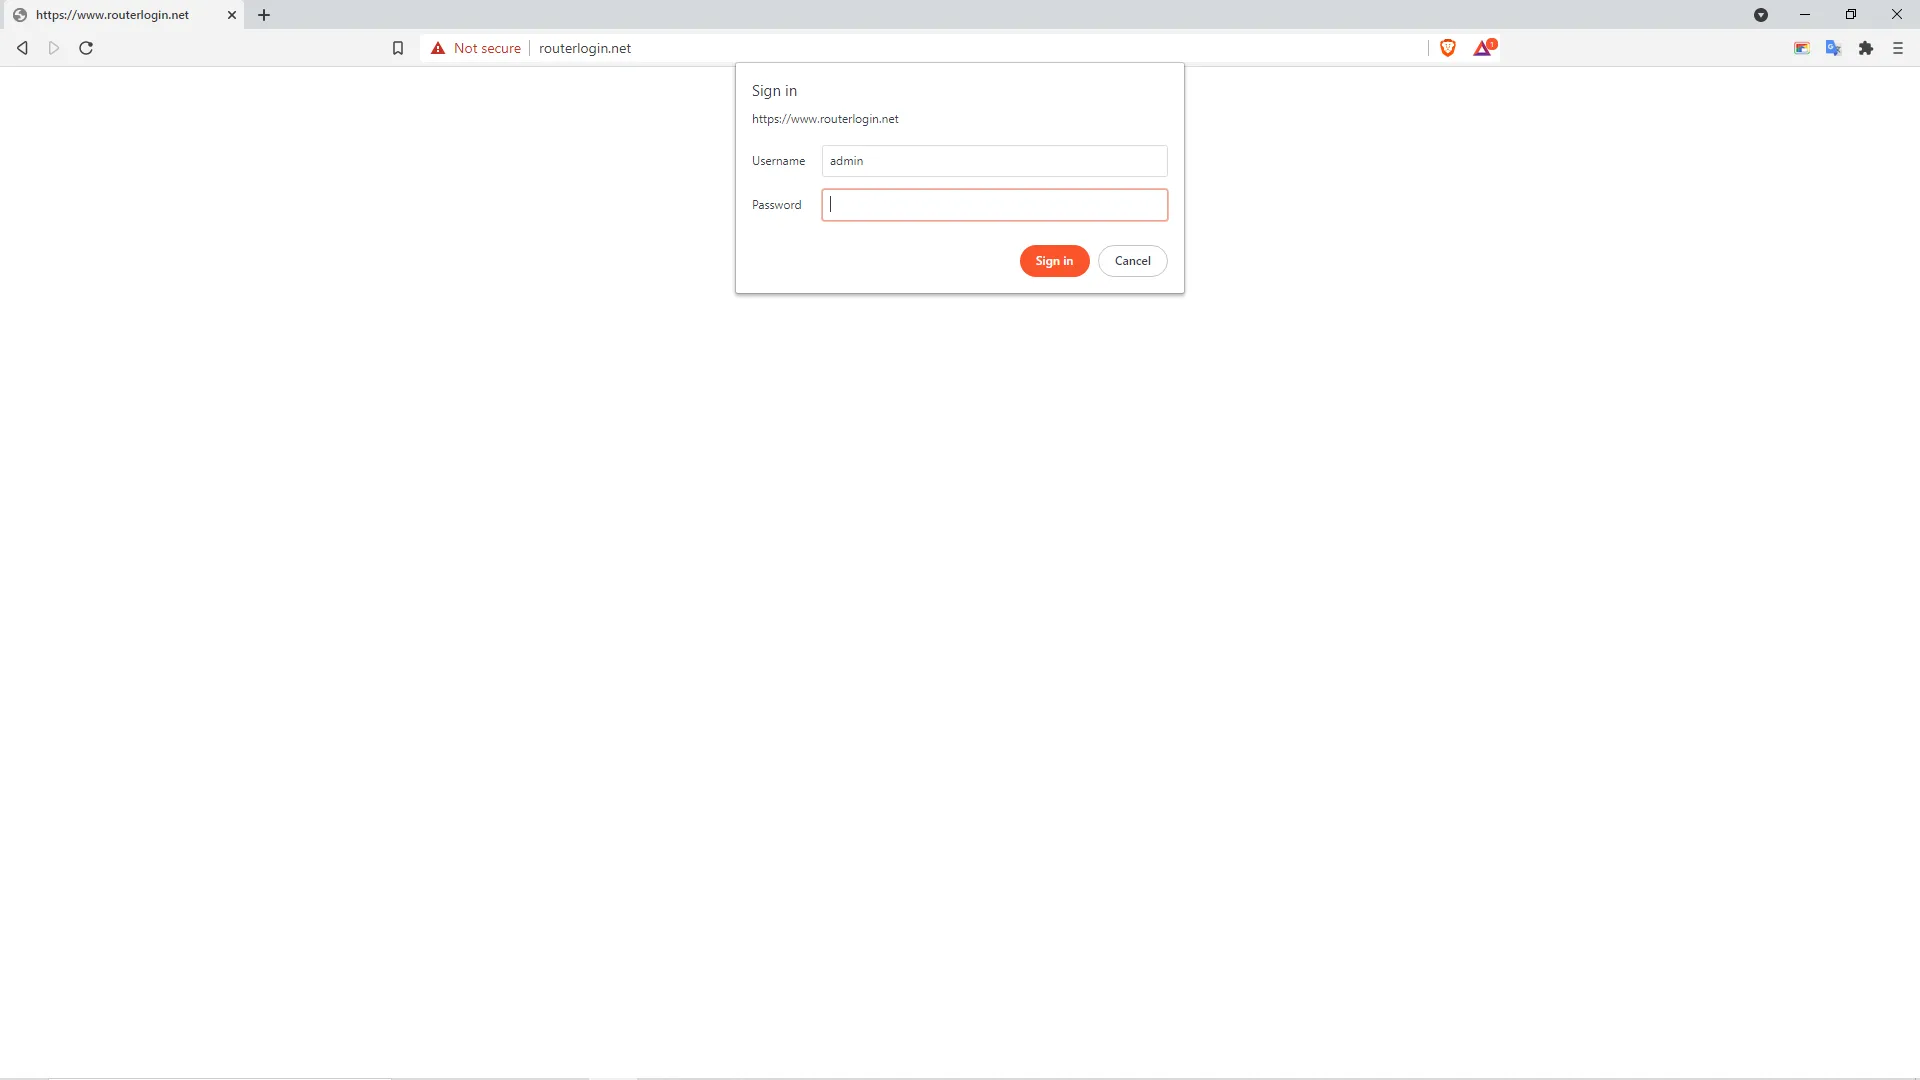
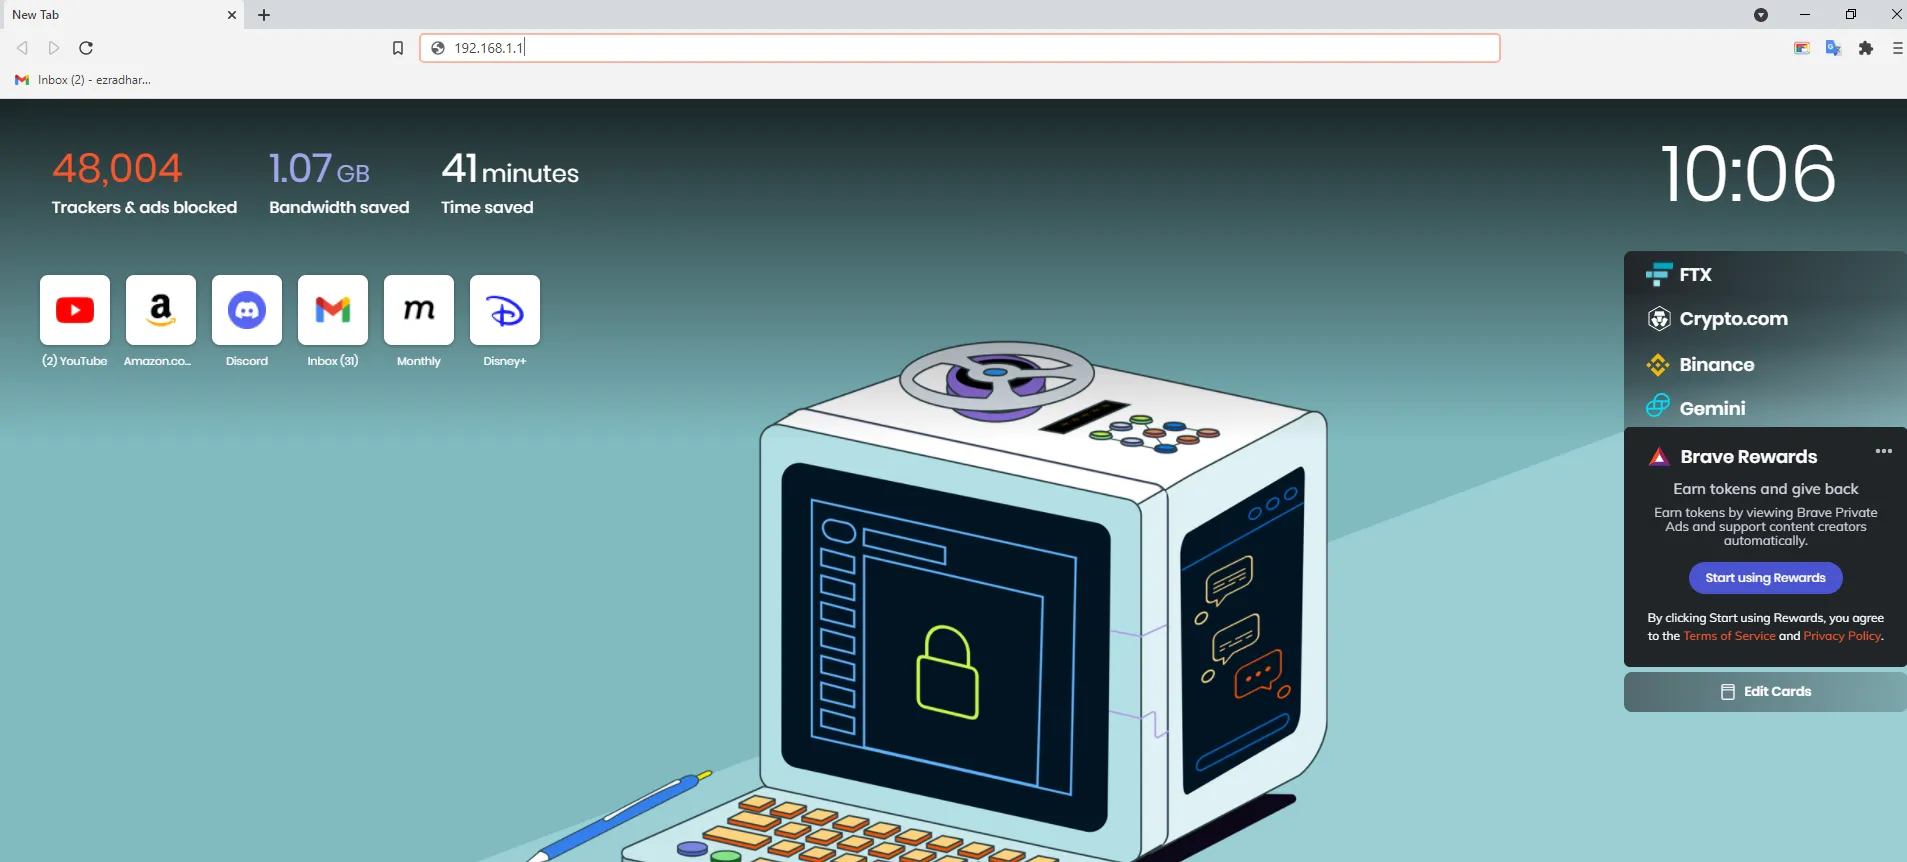
STEP 4: Next, open your browser (Chrome, Safari, Edge, Etc.) and type: 192.168.1.1 into the search bar (note: if it does not load, try 192.168.0.1 instead of 192.168.1.1; also make sure you are connected to Wi-Fi.) Next, when prompted to log in, use admin for the username and the password.
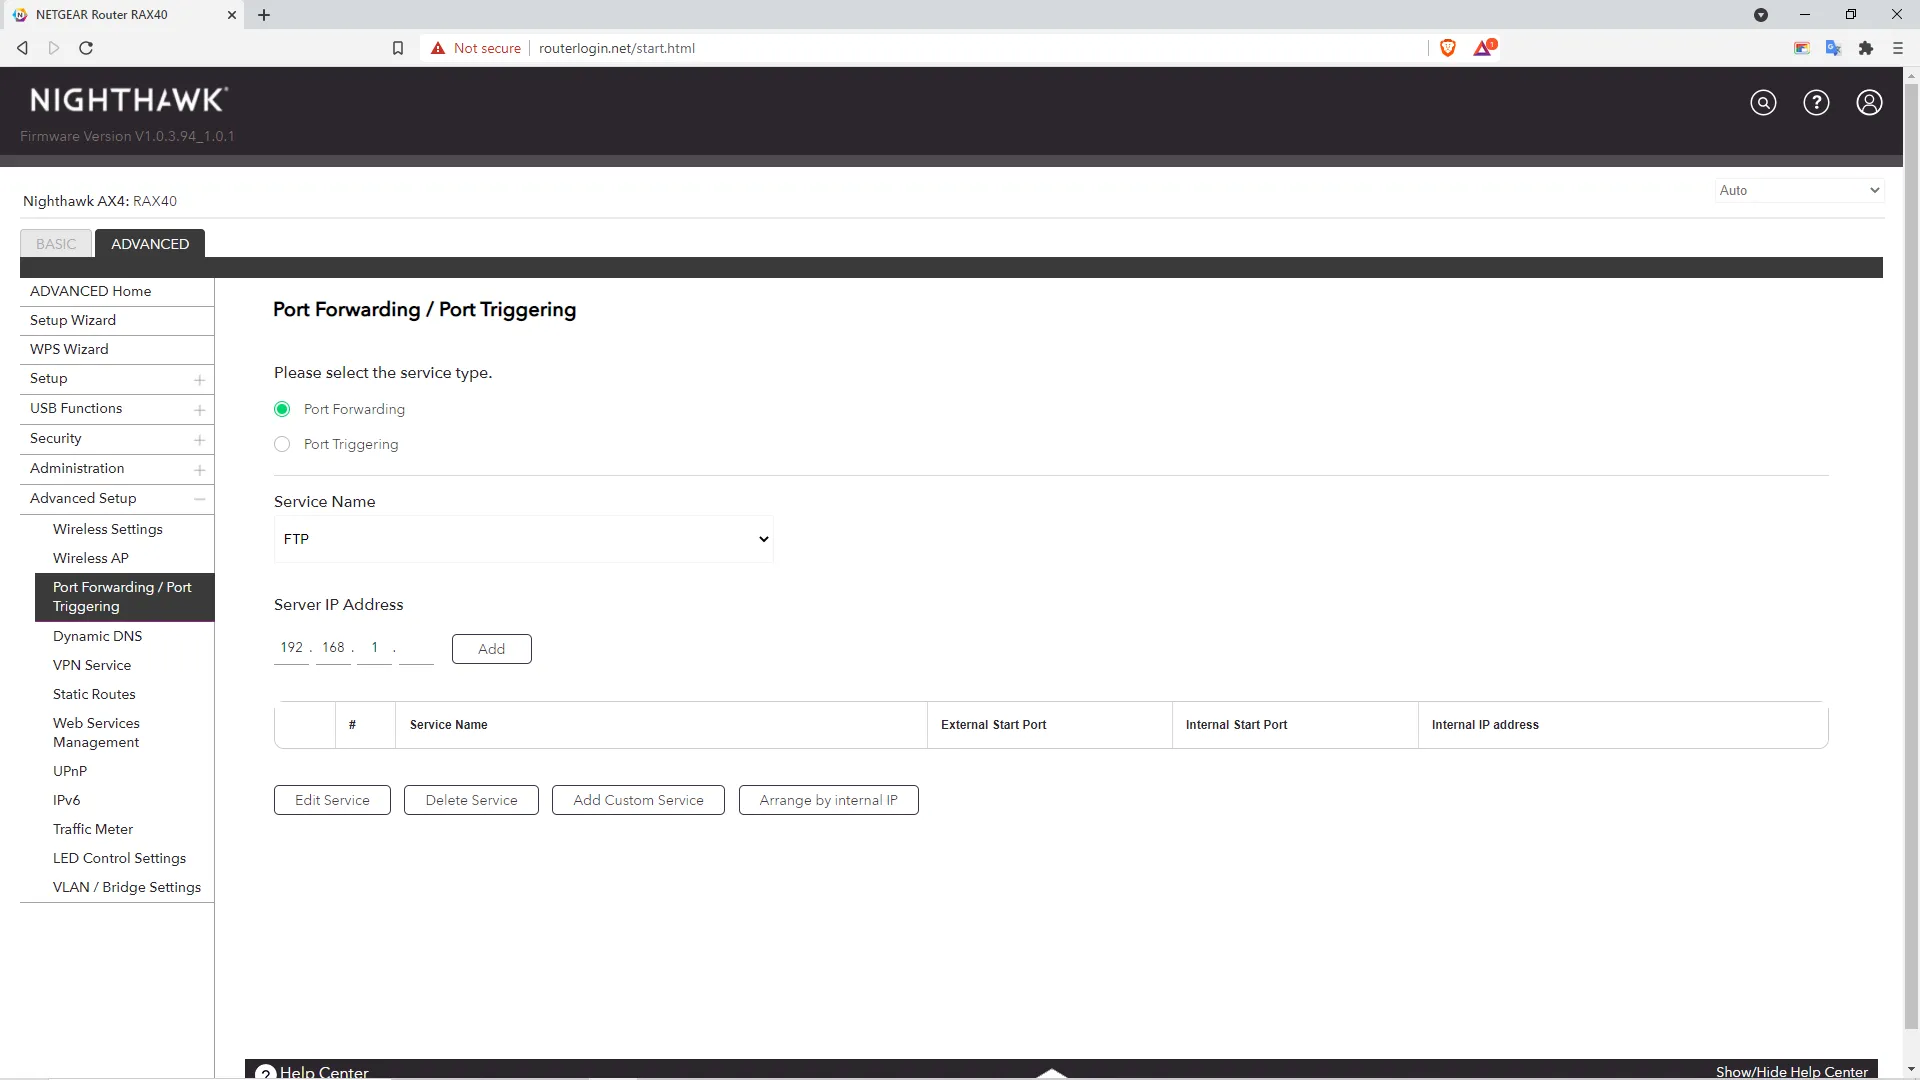
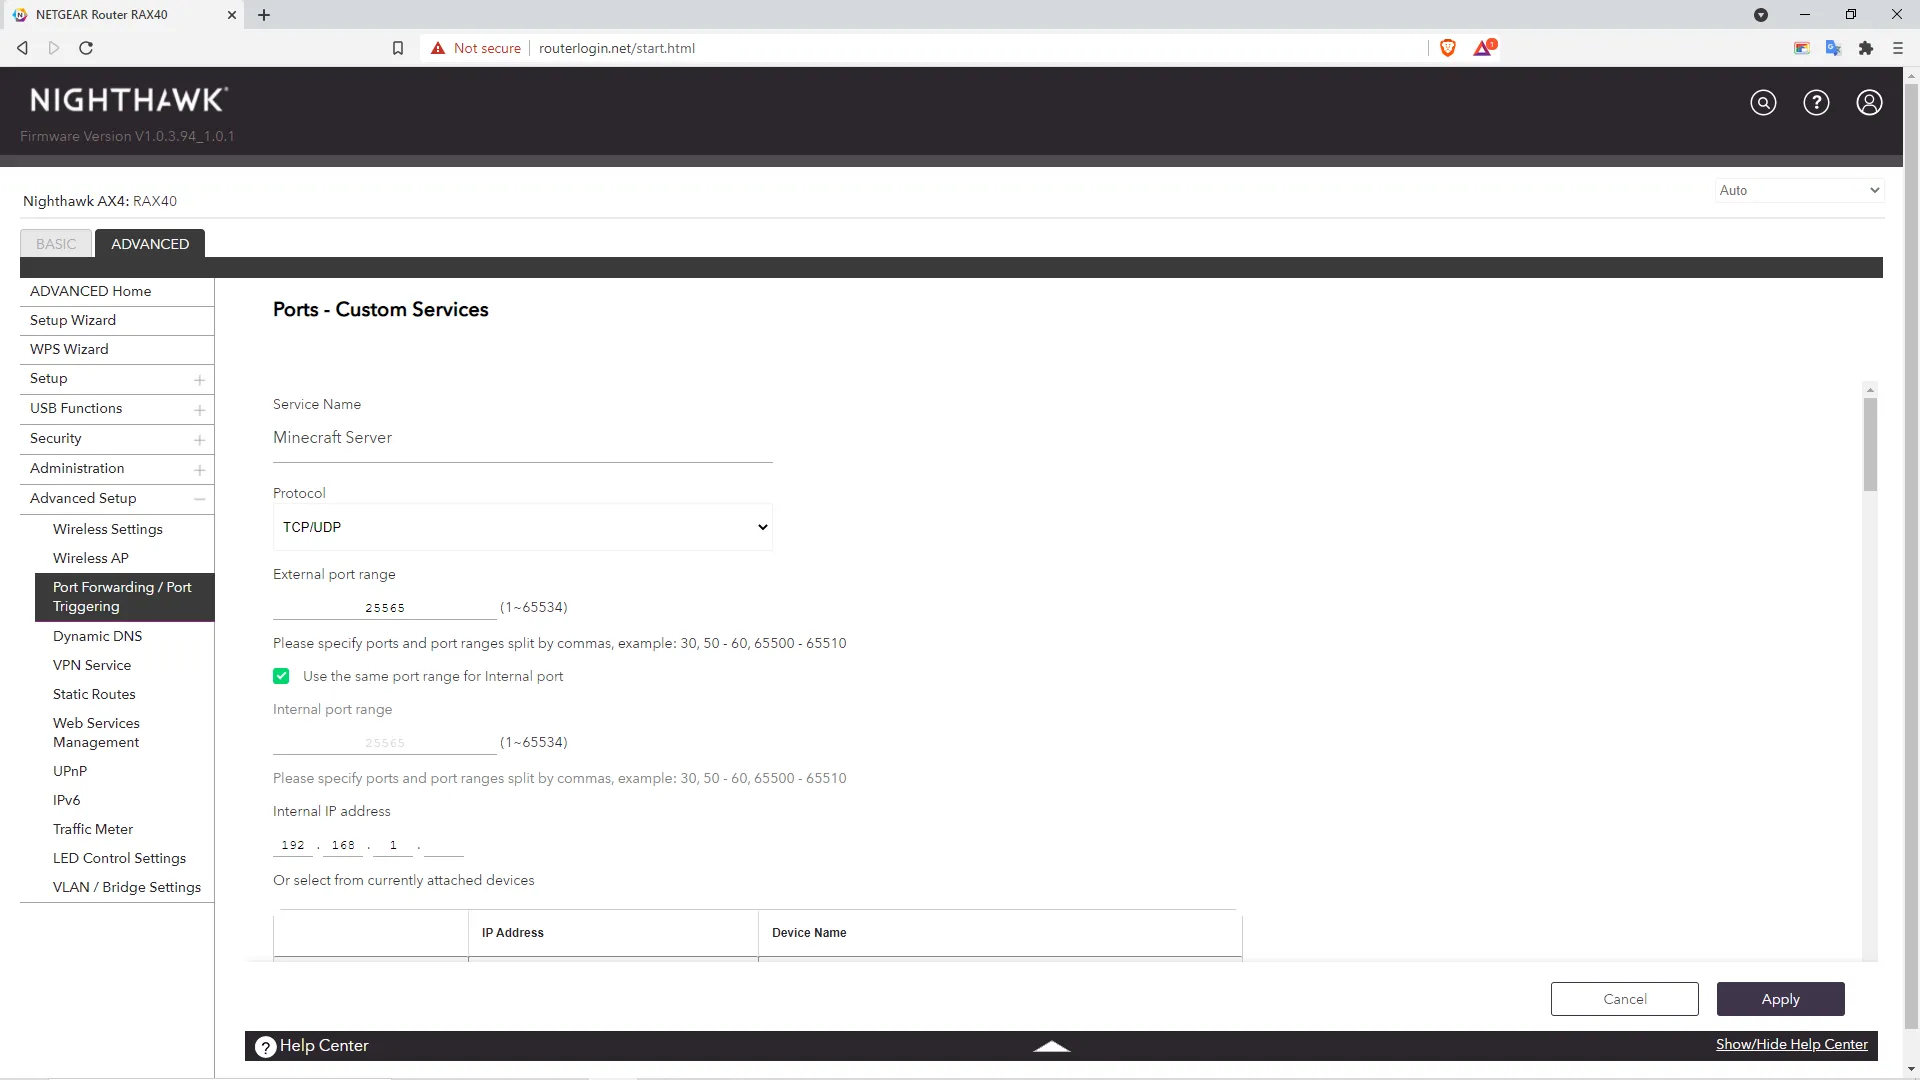
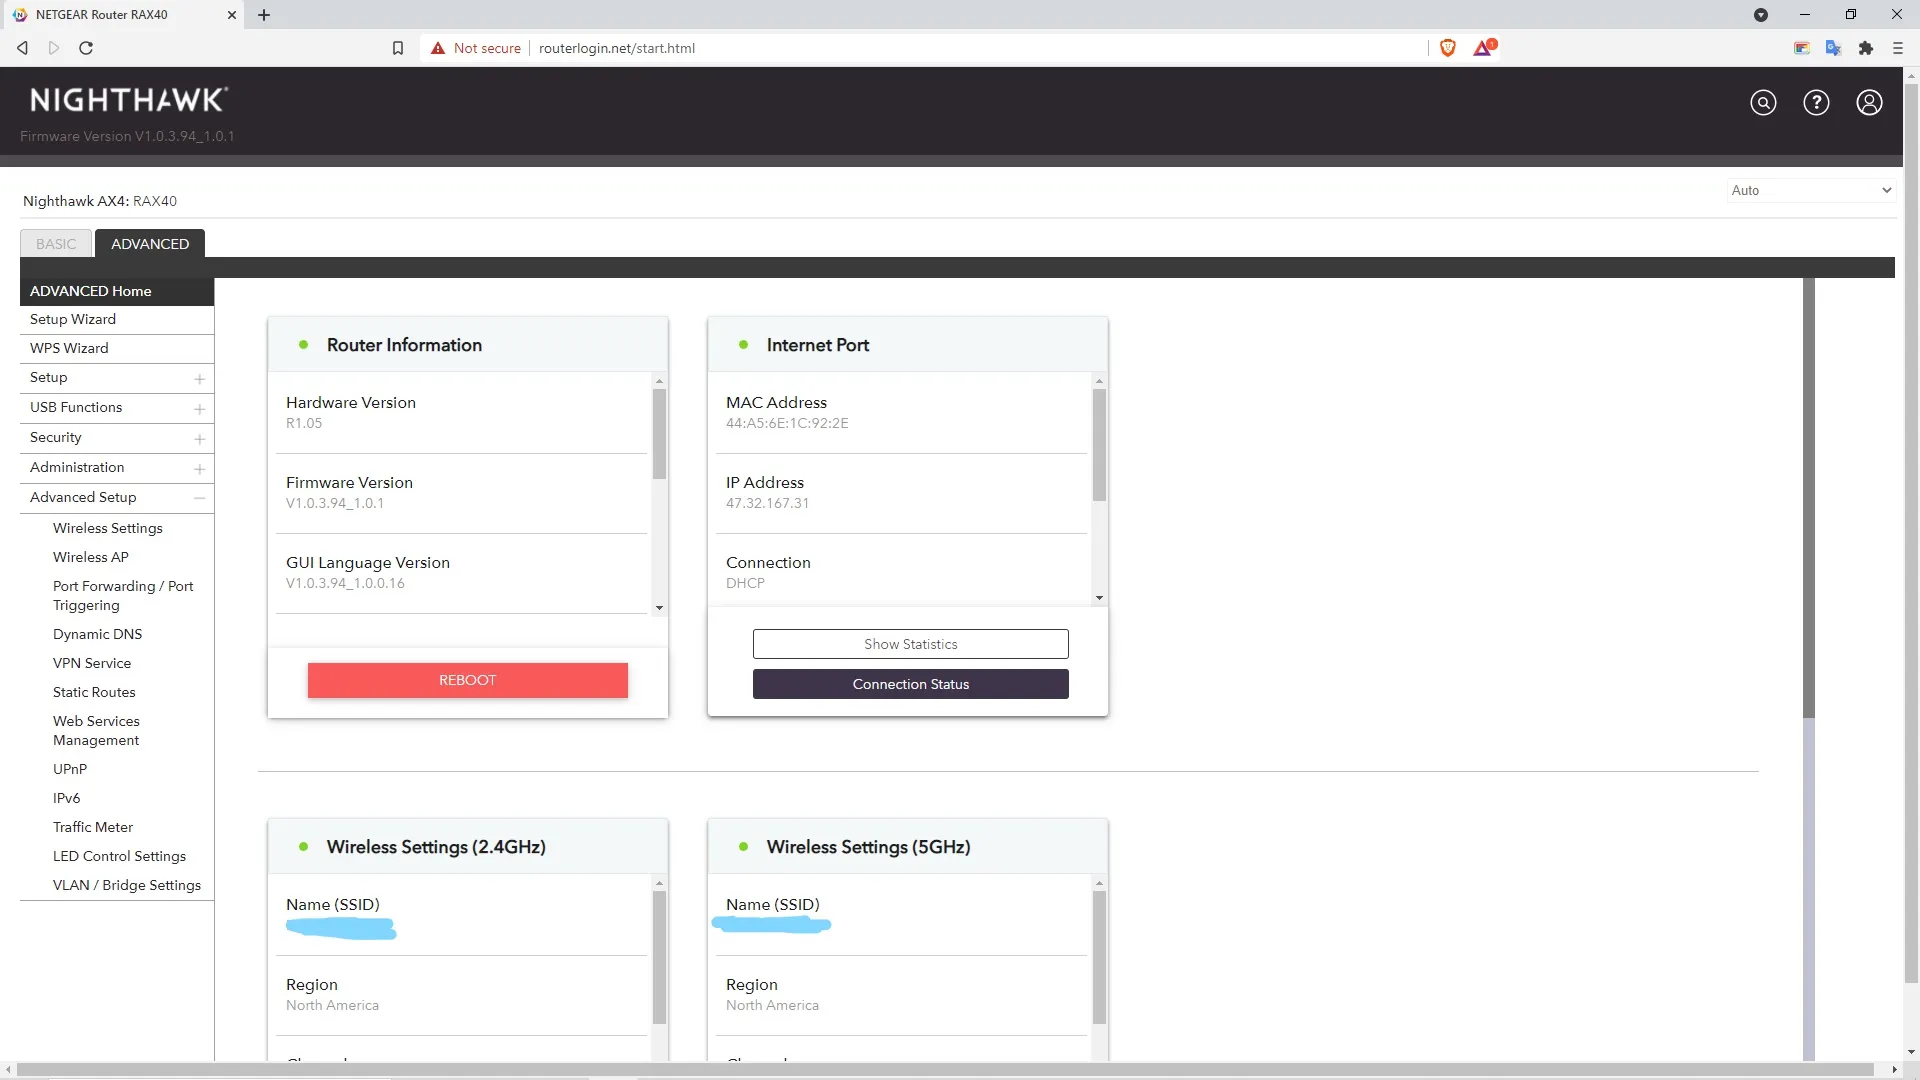
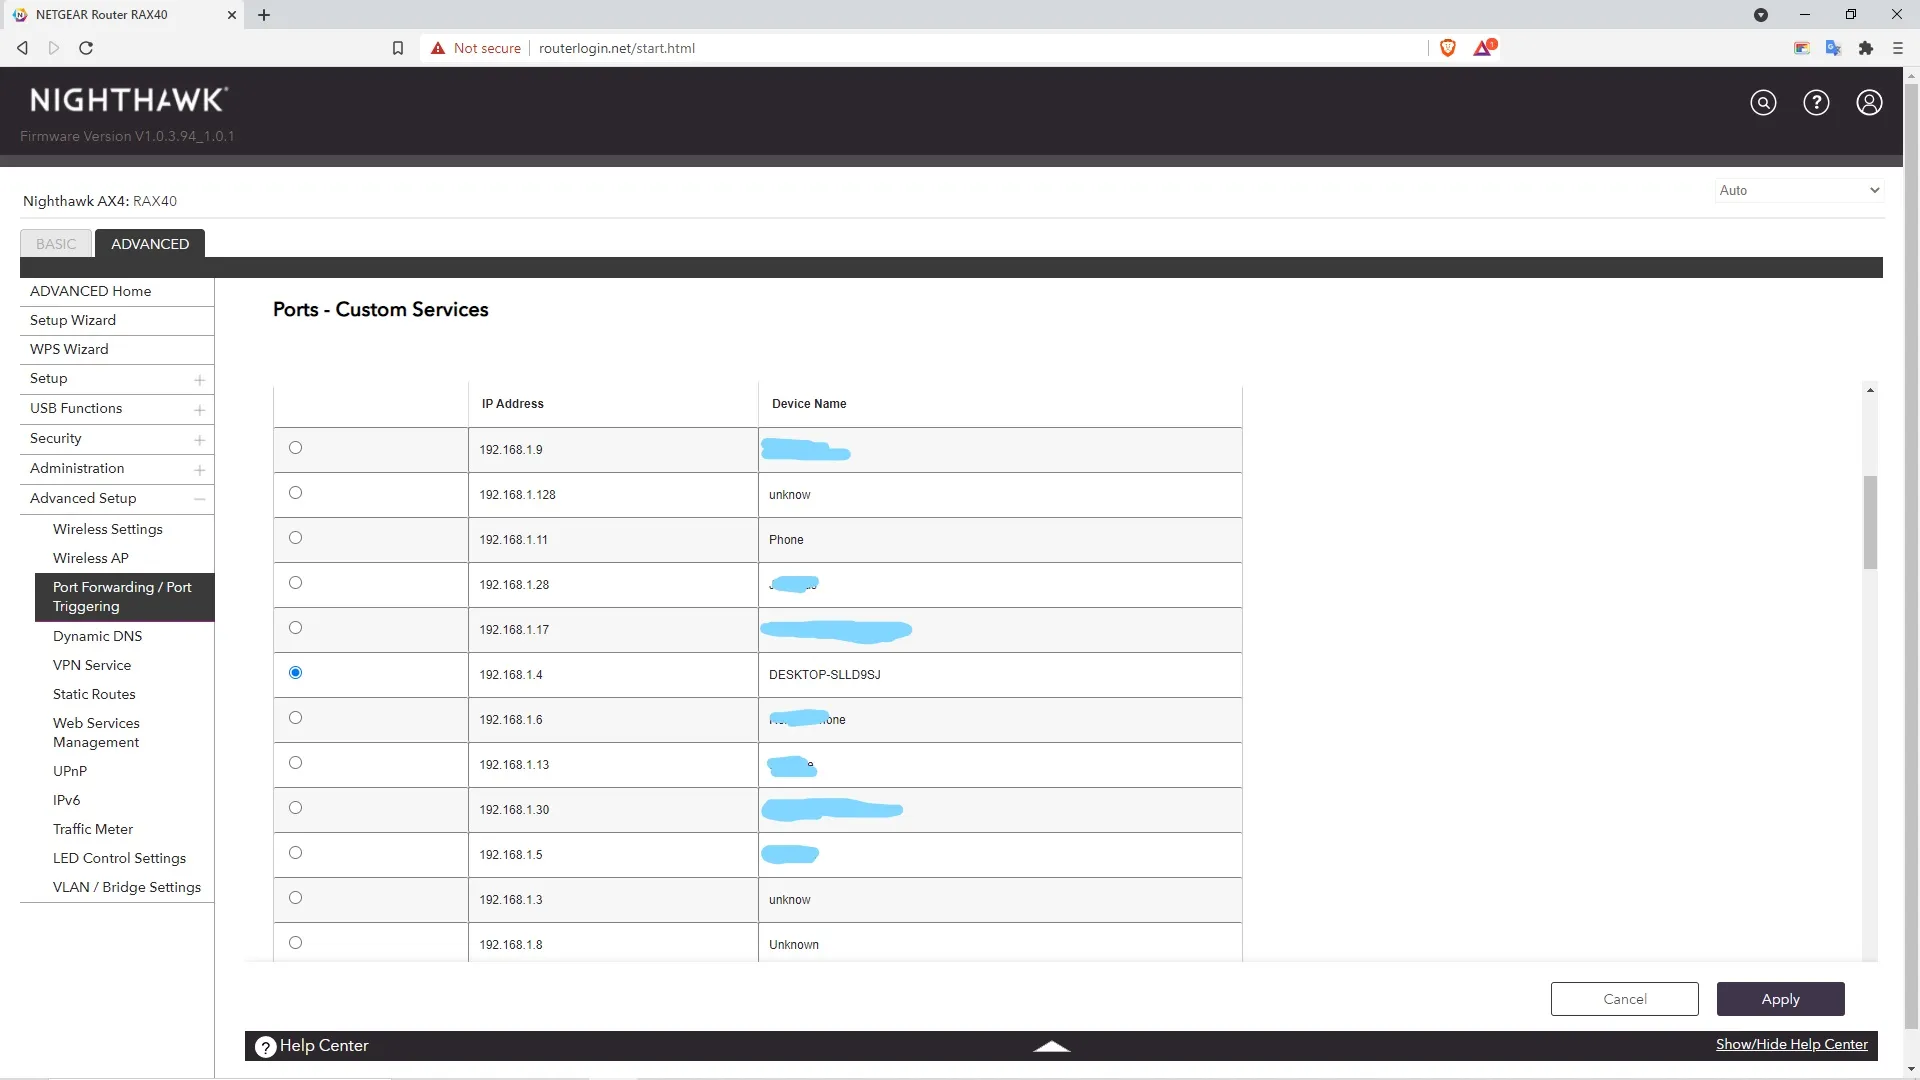
STEP 5: Once logged into the interface, select the Advanced tab (this varies from router to router, but if you have a Netgear router, this will be in the same place.) Then select the Advanced Setup tab and press the Port Forwarding and Port Triggering tab. After that, press the Add custom service button. Then change the external and internal port to 25565. Once completed, scroll down and see the list of devices. If you see the name of your device, select it. If not, follow this tutorial and type the IP into the internal IP address section (typically, you would want to find the ending numbers of your IP address, e.g., 192.168.1.4). Once done, click the apply button and wait till it loads back to the previous page.

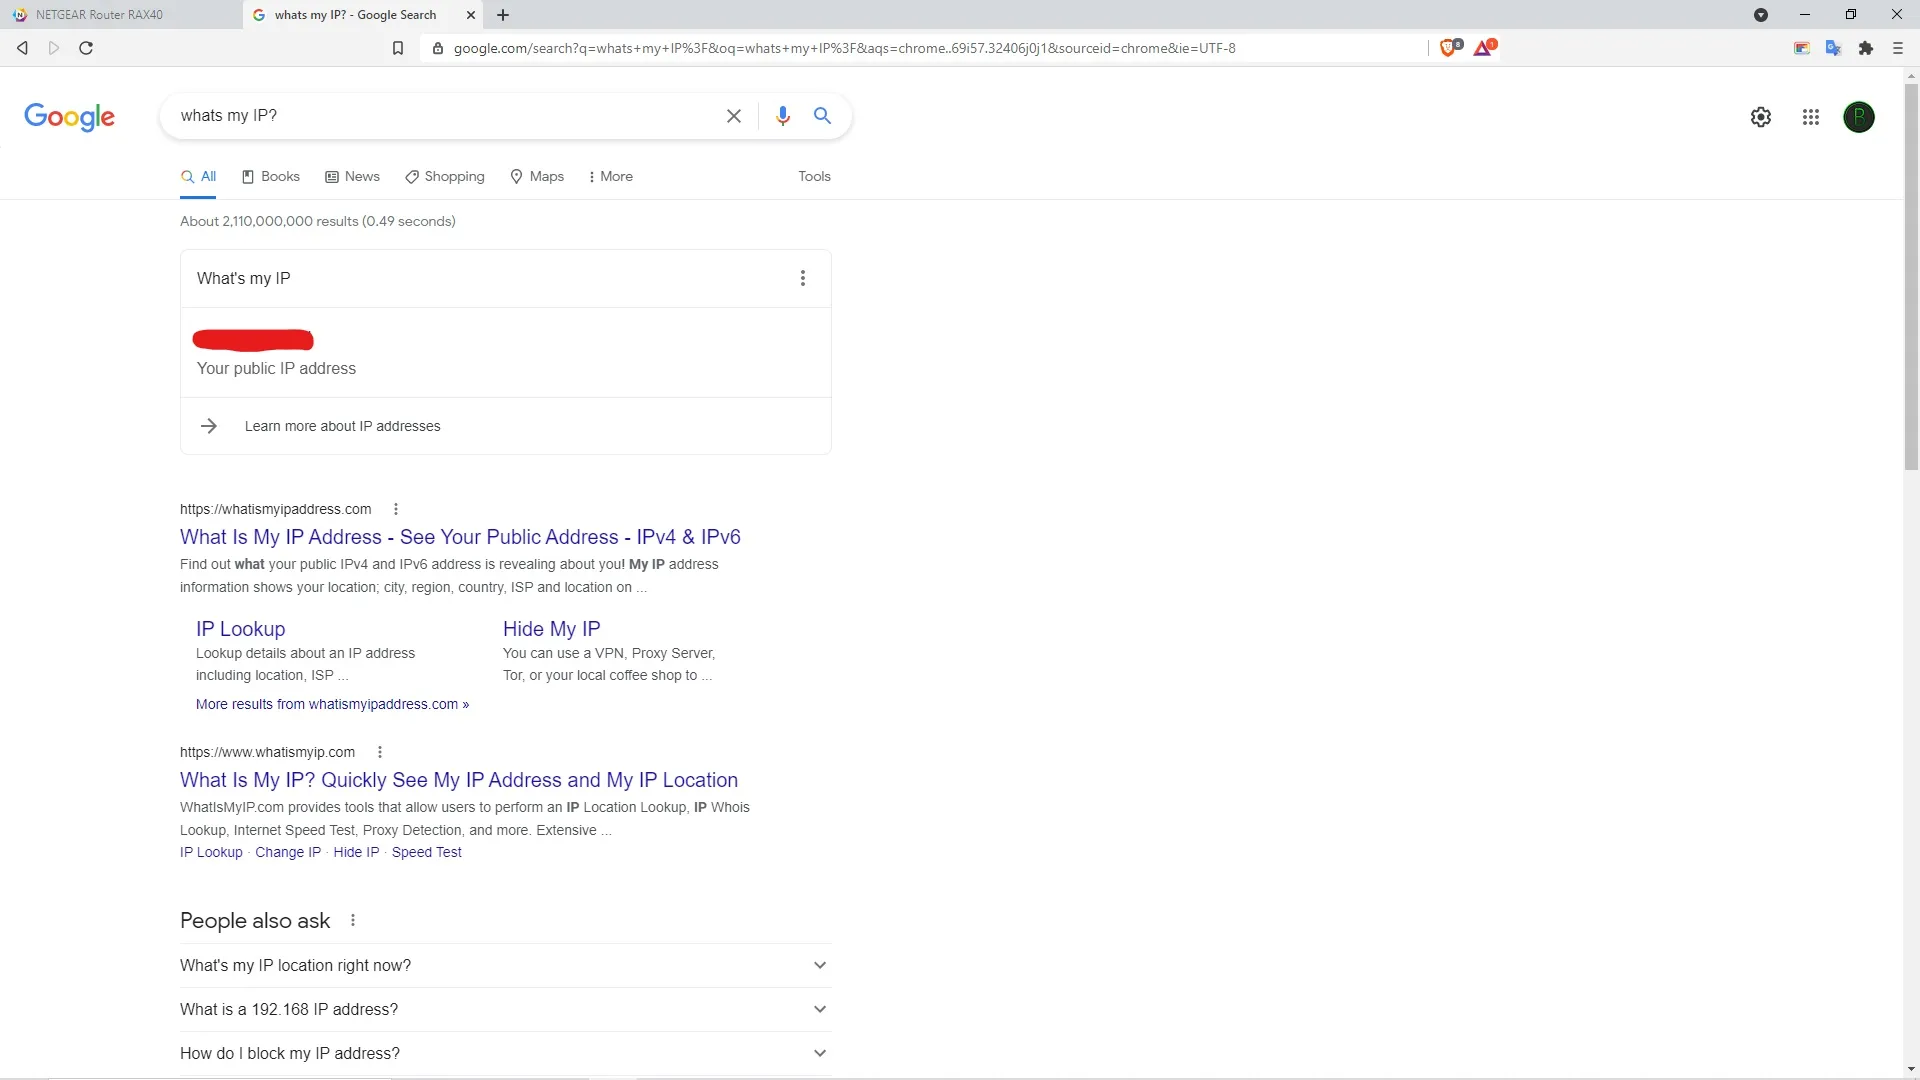
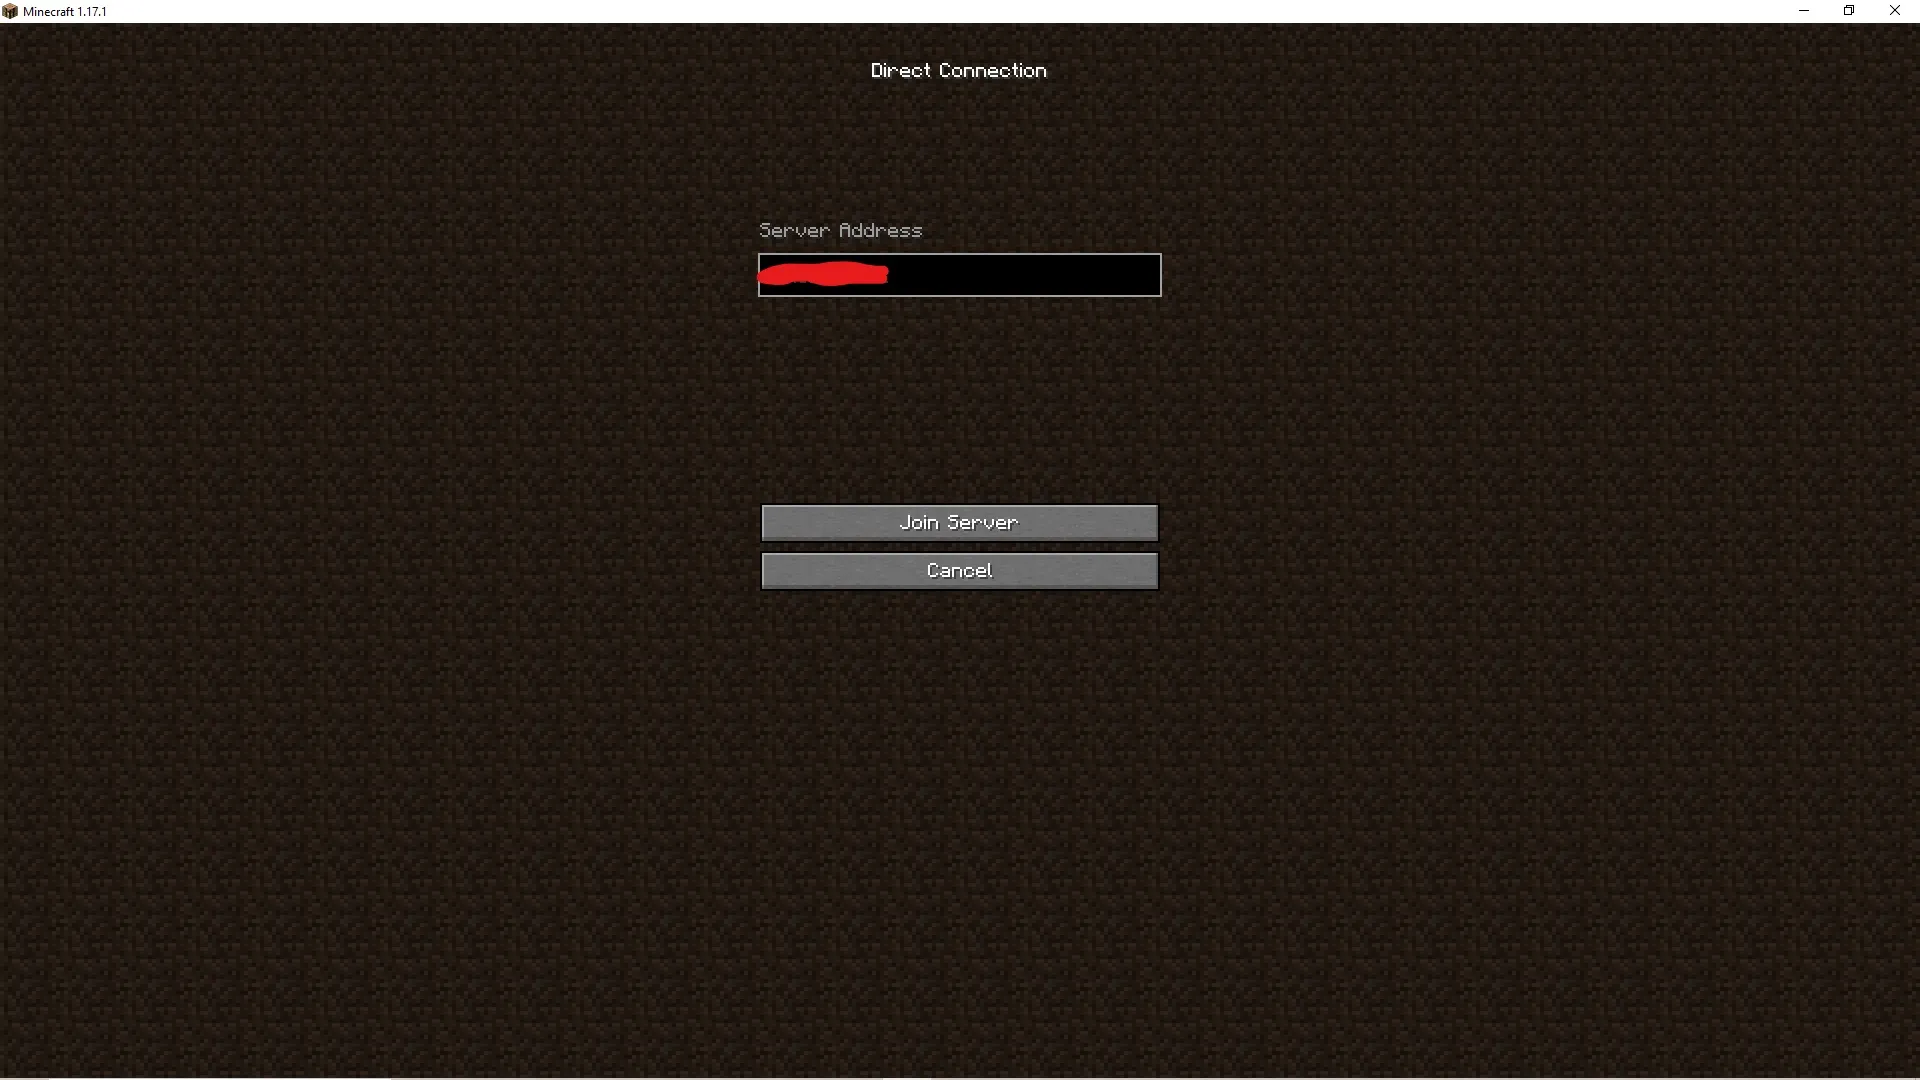
STEP 6: To let your friends be able to connect, type What's my IP? Into your search bar will return your IP (Note: This is different from the device IP you need to port forward from earlier). Then if your friends want to join, all they need to do is put your IP into the Direct Connect button in the Minecraft Multiplayer tab.
Now you're set! However, some other things to note: do not share your IP to your server with people you do not trust or publicly post it. The reason is that if someone had a machine capable, they could DDoS your router and would result in having to change a lot of things to fix, and basically rendering your internet useless or super slow. Don't know what DDoS is? Read this article for more info.
A downside to hosting a server like this is that the server closes as soon as you close the world. If you want to reopen the server again, just type /publish 25565 , and your set! Good luck on your server.