One of the more QOL features I’ve put in for the dashboard is loading displays. Loading screens serve two useful purposes:
- Hiding the unformatted or not properly rendered yet content (or content flashes)
- A visual indicator for the user if they have a slower connection. Active requests are being made in the background, and it’s not frozen or stuck on a bug.
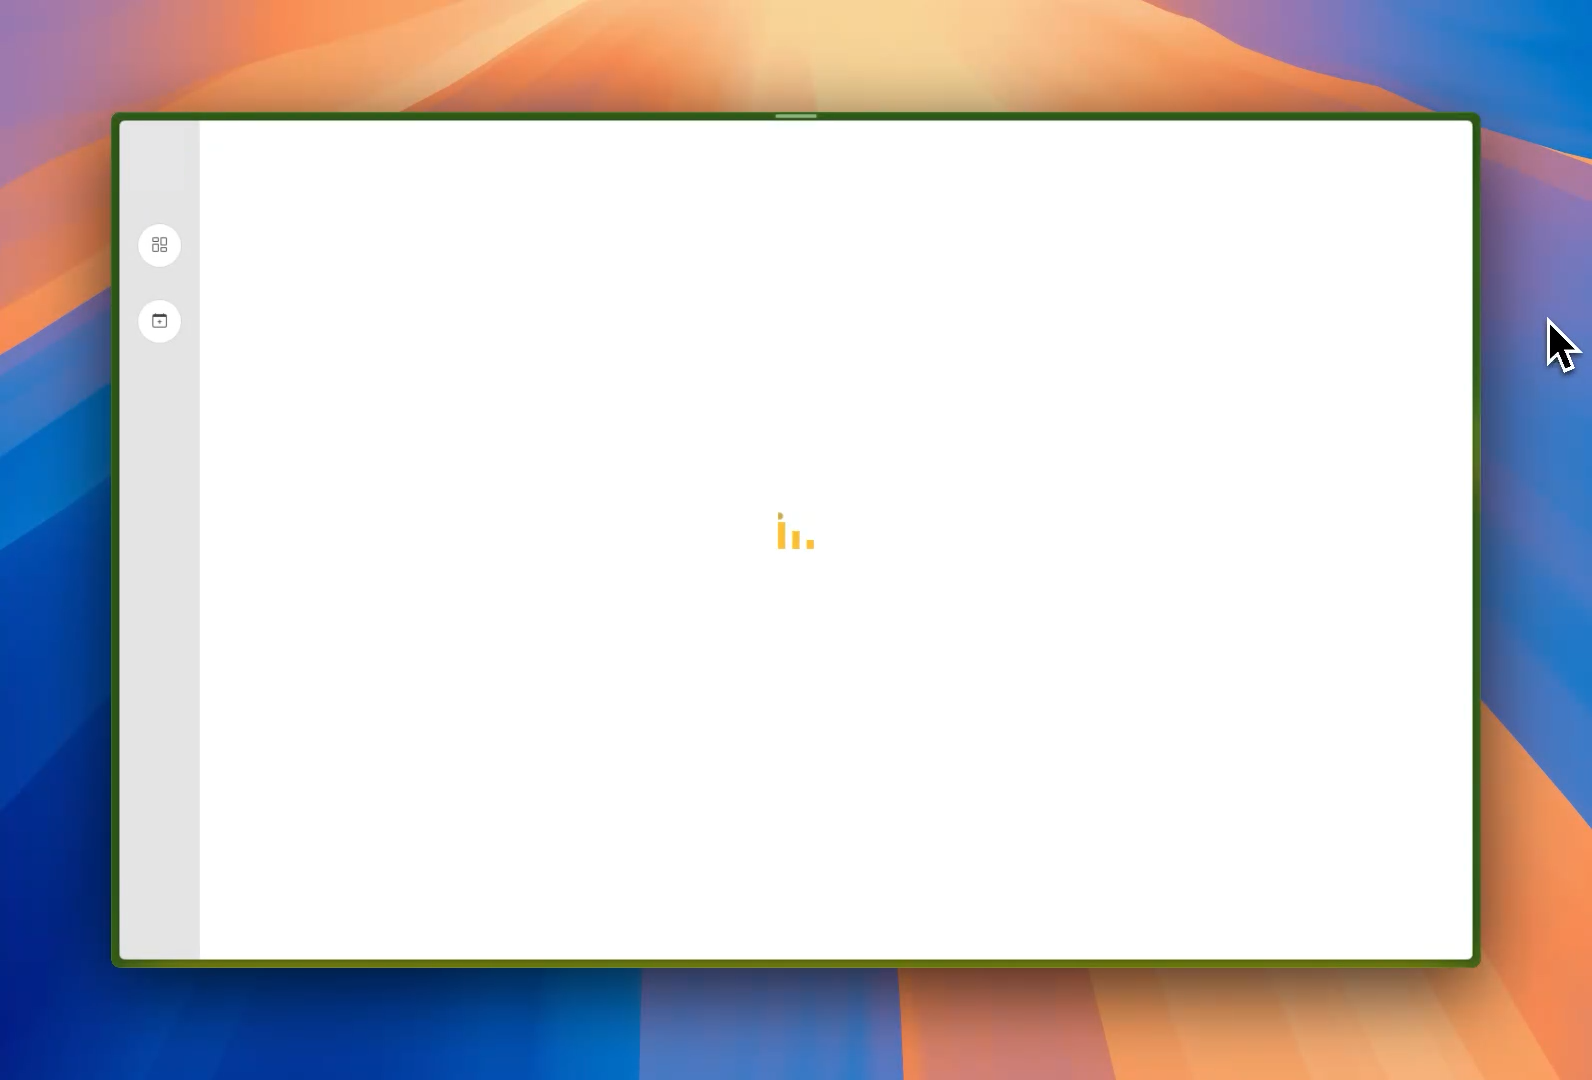
With custom loader (left) – Without loader (right)
The implementation was fairly straightforward. Since I’m using Wized and Webflow for this project, it was a bit tedious to implement at first, but I ended up going with a simple but effective way of displaying the loader.
First, I picked out a basic CSS loader I liked from a fun site called CSS-loaders.com, which has the basic code snippets for bunch of different loaders.
Then, after modifying the colors and styling to fit my brand guidelines, I pasted the following into my custom code section in Webflow:
The more important part being:
  .loader-container {
    display: flex
  }
This makes the loader visible. The reason it is in the custom code and not styled with the Webflow styler is that it has to be rendered when we go to the site and not when we are editing it. The custom code is applied once we view the live site and not on the editing page.
In Webflow, we create a div with the class “loader-container” and a child div with the class “loader-yel” but keep them blank, as the styling and animation are already done with the custom style. But make sure to turn on “display: none” for the loader-container, as this will be overridden in the custom styling, and set the ID of “loading-container” to be something memorable like “loaderScreen”.
Now that I’ve configured it, the loading icon appears as soon as you open the page with the loader element on it.
But there’s an issue… It doesn’t stop showing the loading icon because we haven’t told it to “disappear” once the content is ready.
That’s where Wized comes in. In Wized, I created an event that has a custom condition:
return Object.values(r).some(obj => obj.isRequesting || obj.hasRequested)This triggers our Wized event whenever r (or one of our requests) starts or finishes requesting.
Then we create a custom variable like isLoading, and set it to the value of r.isRequesting.
Once that’s in place, we will have a variable that lets us know easily if the current state of any requests is loading by a simple boolean value. Then, if we add one more function to the event we created:
const loadingScreen = document.getElementById("loaderScreen")

v.isLoading ? loadingScreen.style.display = "flex" : loadingScreen.style.display = "none"
This finds the loading container we created earlier and either shows or hides the element by changing its display property. In this case, we set it to trigger depending on the isLoading variable; if true, it sets the display style attribute to “flex”, but if false, it sets it to “none” or hides it.
With this same event, you can use other loaders. For example, certain buttons are configured with a class that gets updated to “loading” state if the v.isLoading is true, which displays a loading symbol while a request is being made.
Leave a Reply