
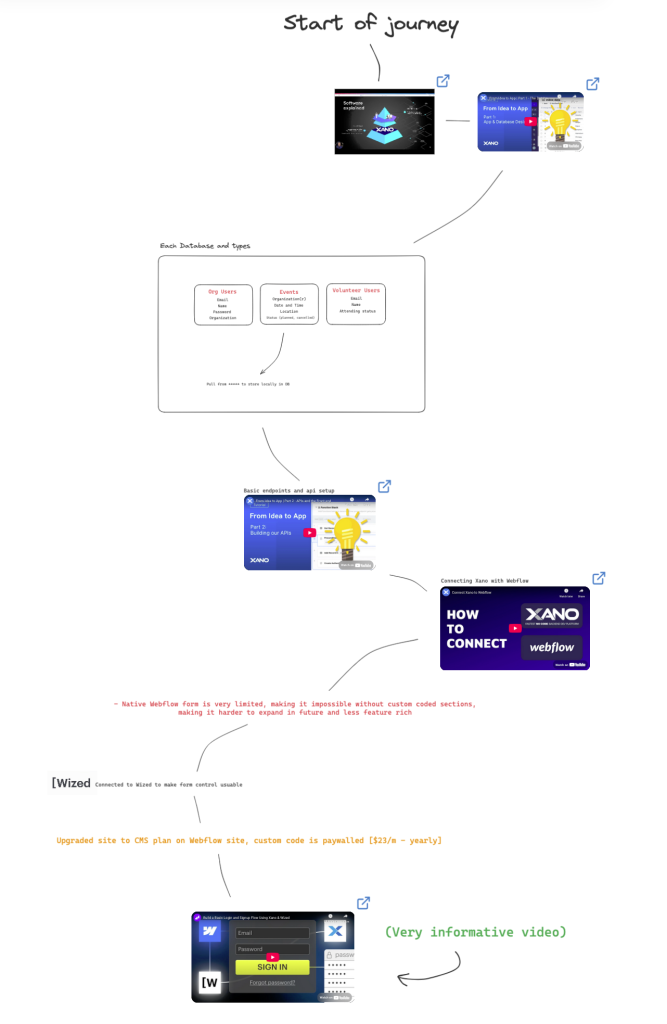
After learning the basics of Webflow (a no-code website builder), the next task was to attach all of this information to a backend, specifically for authentication. The final goal at the end of this week is to create a front-end page for users with a login and sign-up form and basic authentication.
I started with Xano, a similar service that advertises itself as a “no-code” backend for services like Webflow. It offers features like easy API configuration and simple database setup, making it more straightforward to link it to a Webflow site and configure database syncing and authentication.
Luckily, Xano has a great YouTube series on the basics, including an example scenario of a discount service for merchants. The series walks through the brainstorming of each database that the service might need. This first video introduces the Xano databases and the process for creating the entries for each type of info it stores, such as email, password, and names.
The first significant roadblock was Webflow’s very lacking form control. This will ultimately occur with a platform that tries to be “no-code”, with limited options that won’t cover every use case the user might need. This made it almost impossible to make the form without just coding the form from scratch using the custom code feature in Webflow (which isn’t a difficult task, but it’s not the scope of this project)
Luckily, Finsweet built a solution called Wized. Wized adds many features to an existing web flow site by adding their custom code to the header, allowing them to view and modify the site’s content. All you need to do is add custom attributes in Webflow to each form or element you want Wized to control, and Wized will pick it up inside its interface.
Probably the most helpful video yet. Wized has a video walking through the start to finish with basic auth in Wized, Xano, and Webflow
Wized excels at most features, including form control, custom Javascript components, and any extra effects that Webflow might not have built-in that you could program reactively with Javascript.
One such feature is creating API calls that can be extended, called dynamically, or called conditionally. This can be used in combination with Xano’s easy API creation to fetch a user and authenticate with Xano’s database.
A feature which I was surprised that webflow didn’t have built in was a way to “prevent-default” in js, as the name implies prevents the default behaviour of a form, so that you can have the data handled differently than the default behaviour than HTML does by default which is attaching it to the url of the current page as a query.
A reason you wouldn’t want a form to do its default behaviour is if you have API calls, like we do with Xano. The prevent default allows us to instead call a function that might API hook to Xano to get an authentication key. If (for example) you had a user log in and it had to verify that the form’s email and password were correct, you could use.
This was early in the initial testing, but I got the connection between Webflow and Xano working to create a user in a Xano database every time this form is submitted. The next step is storing authentication tokens so the user can log in once, and the browser remembers it. As well as logging in.
Wized has demos of its features in action on its showpage.
Fun fact of the day: Wized does not work on non-Chromium browsers. It took me an hour to figure out why my form elements weren’t appearing in Wized until I tried Chrome, and they appeared right away.
Leave a Reply