Author: ezradharris
-
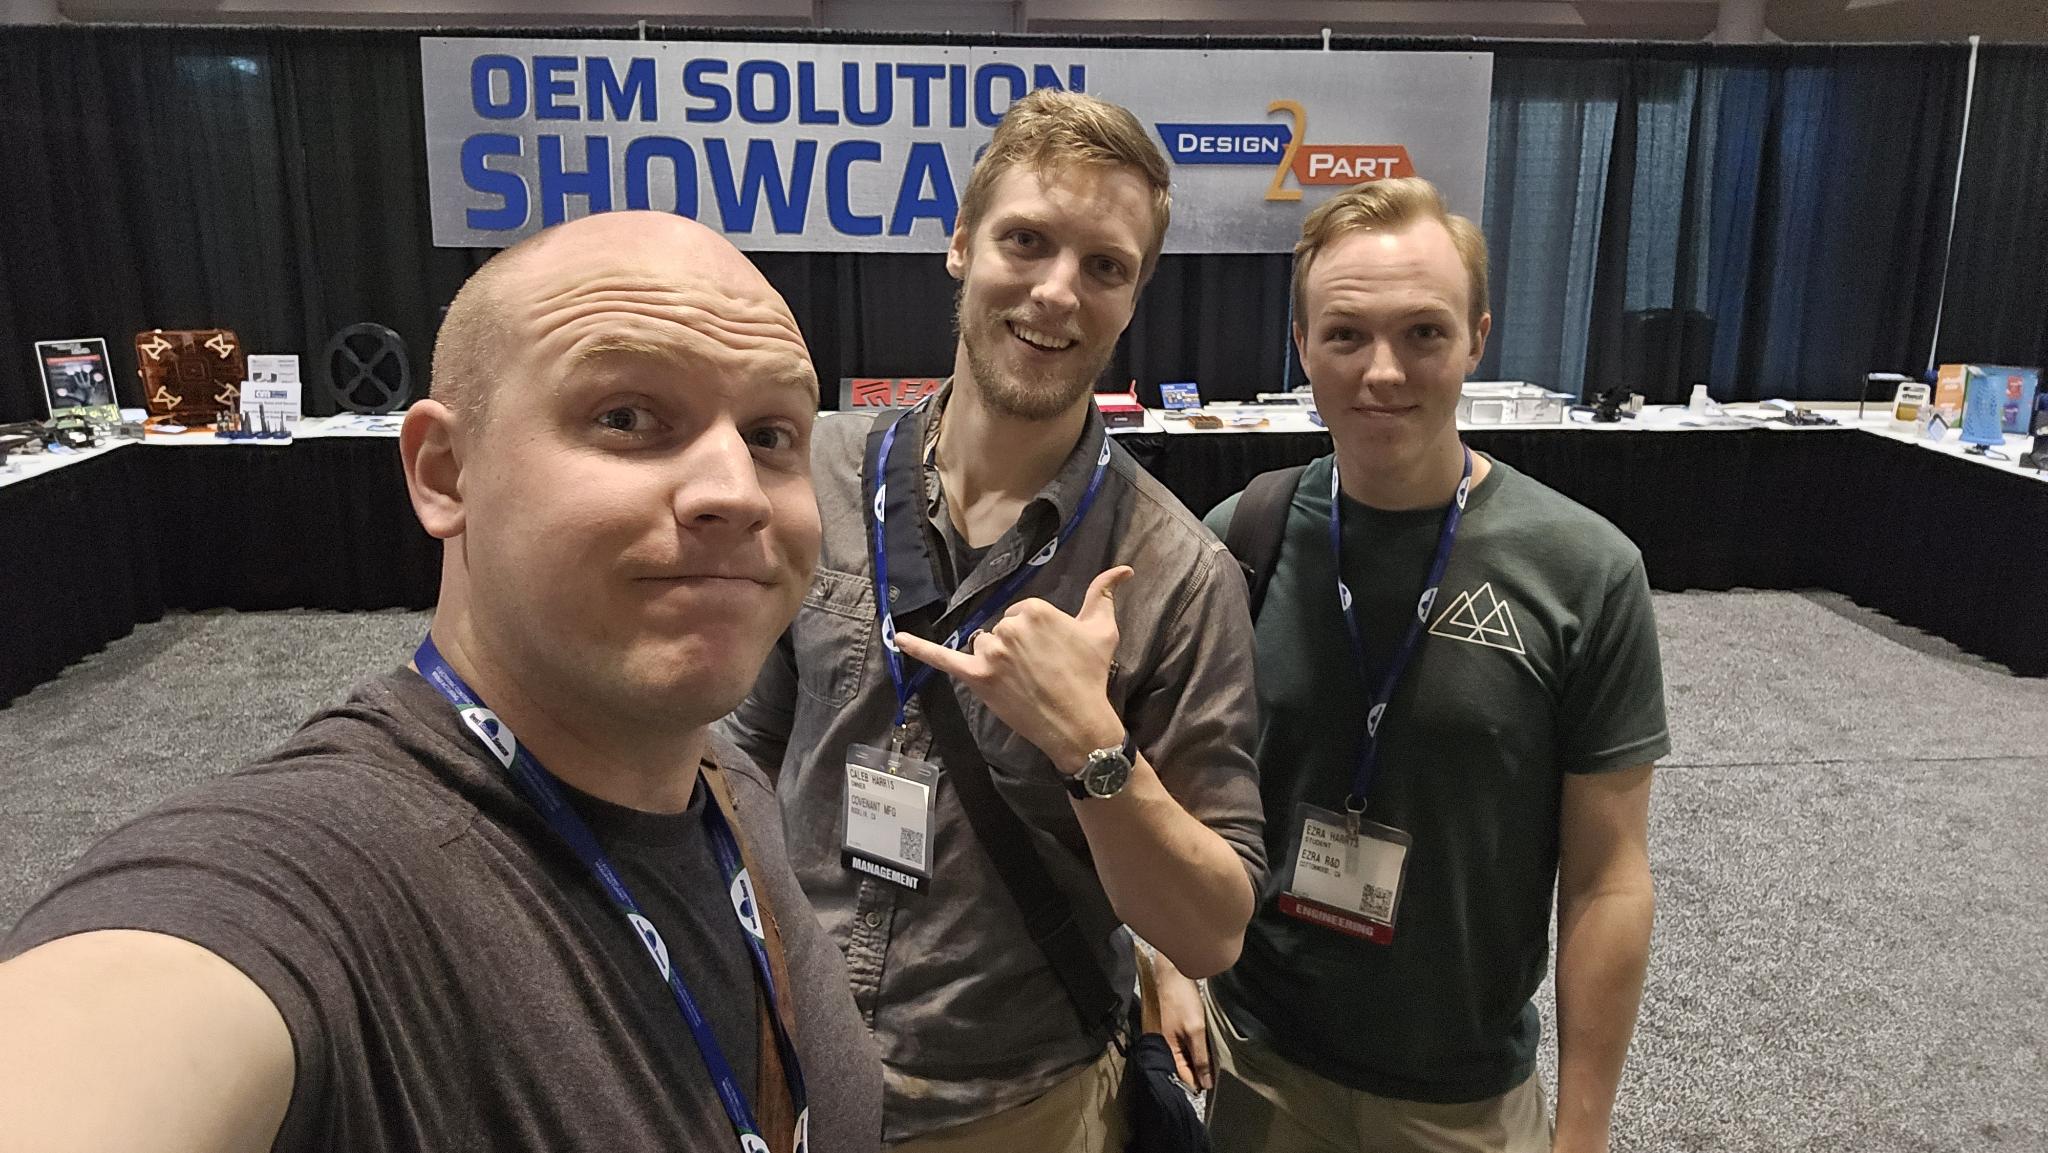
Design 2 Part 2025
Yesterday, my two brothers (Jonathan and Caleb) and I attended the Design 2 Part trade show in Santa Clara. Design 2 part is an annually hosted trade show mostly aimed at connecting suppliers for parts and manufacturing. Whether it was CNC, 3D printing, EDM, or casting, they had a ton of different vendors that offered…
-
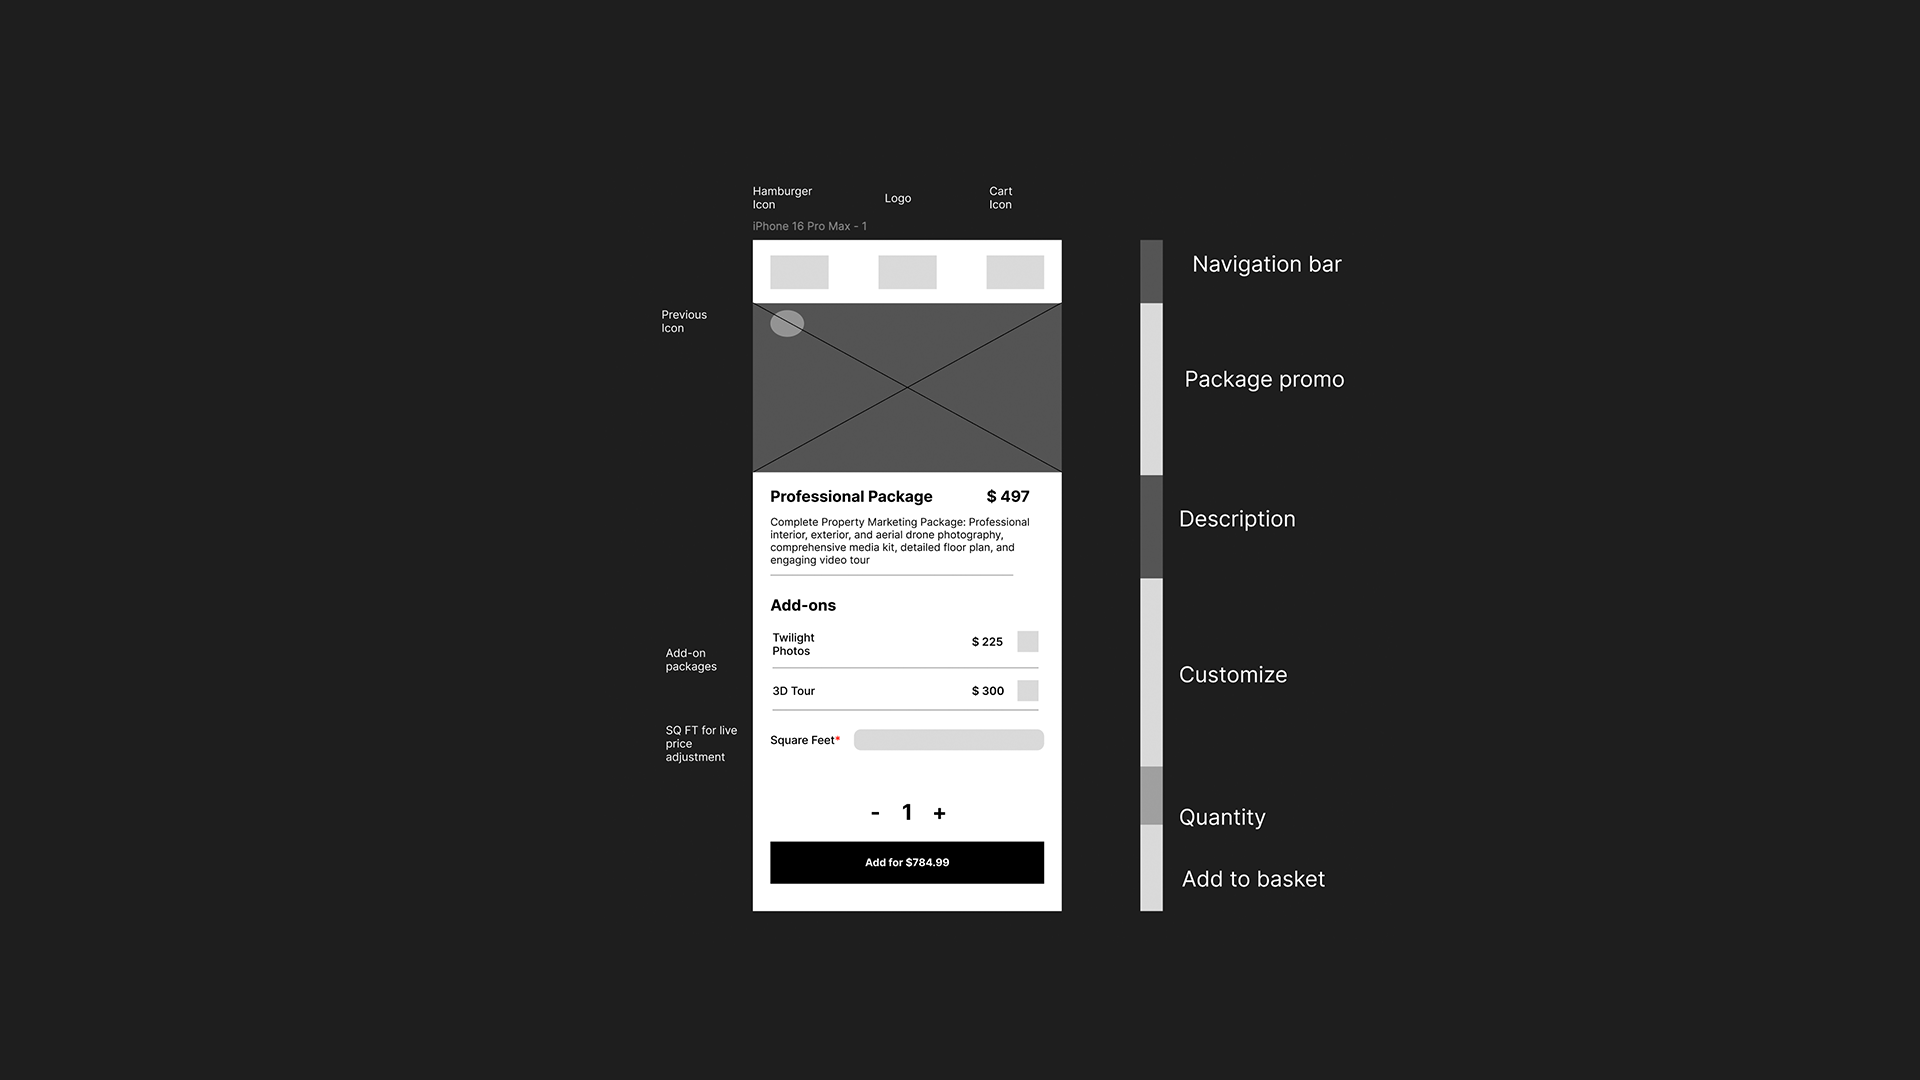
Figma Design Basics – MFED 07
Some really neat features of Figma I’ve learned from the course are micro animations and micro interactions. Micro-interactions are a way of engaging with the user to make the user feel more accomplished in small tasks, for example. When you double tap an image on Instagram, it will show a heart emoji animation over the…
-
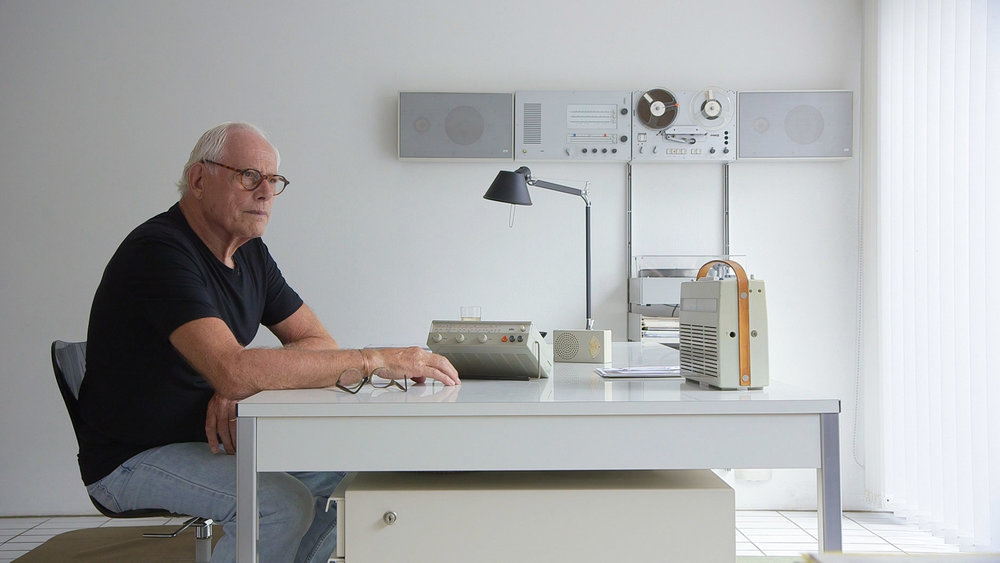
User Experience – MFED 06
The focus so far has primarily been learning industry standards for prototyping and presenting UI (User Interface) feedback loops, and shipping design interfaces, creating personas (a fictional but as accurate as possible representation of your target user)
-
Learning JavaScript with Cooking Recipes – MFED 05
After completing my React Advanced course, I’ve been playing around with different projects in hopes of using some of the material I’ve learned from it. With that, I’ve been attempting to branch out into other parts of web programming, specifically learning about backend processes. An example web app I’ve been creating to accomplish that task…