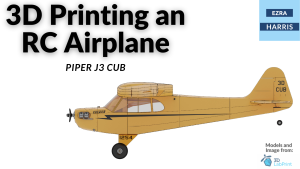
I spent about three weeks working on 3D printing an RC plane. I had initially searched for a somewhat easy RC plane to print and assemble as I’ve never had any experience with RC vehicles in general. I eventually found a good model that was both free and looked simple enough for me to be able to print. The model I ended up with was the Piper J-3 Cub by 3DLabPrint; 3DLabPrint is a Czech Republic-based company that designs 3D printable RC plane models. They have a bunch of options to choose from when it comes to RC planes.
It took me about three weeks from starting printing to assembling electronics and crashing flying; I went with Polymaker LW-PLA, as they had a summer sale when I purchased; you can get a roll of plastic (and support me) by clicking here.
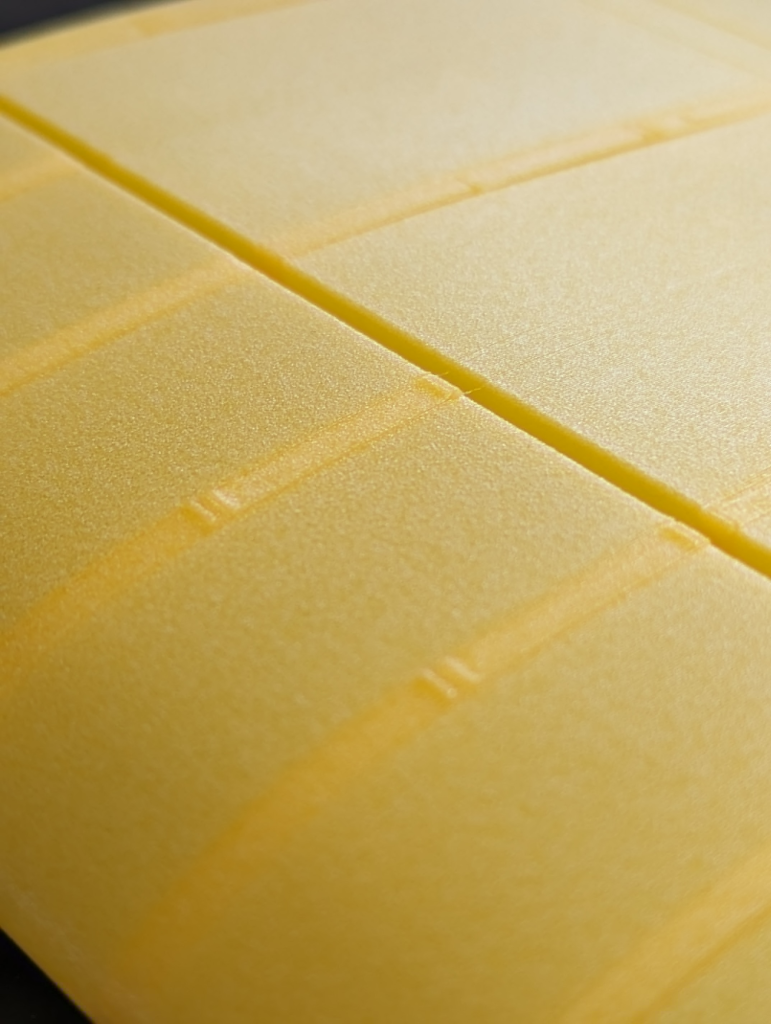
3DLabPrint recommends their plastic, but the shipping would have been pricey as they are located in an overseas country. But there is a difference between PolyLight (3DLabPrint brand) and PolyLite (Polymaker brand). Polymaker prefoams the material, which makes it easier to print as it has very similar properties to regular PLA, and thus, I was able to print it at my stock PLA slicer profile. 3DLabPrint’s LW-PLA is not prefoamed and requires more tuning to compensate for expansion and other variables when it comes to printing.
For the first couple of parts I printed, I hadn’t gotten the printer’s slicing profile correctly; for example, I accidentally added two bottom layers and two top layers, which I don’t need for this model as specified in the instructions. 3DLabPrint provides extensive instructions on how to assemble and prep your printer before printing. But after some trial and error, I got the slicer settings down and printed the rest of the parts. It took me about a week to print and assemble all the details, but I didn’t purchase the electronics till later in the following weeks.
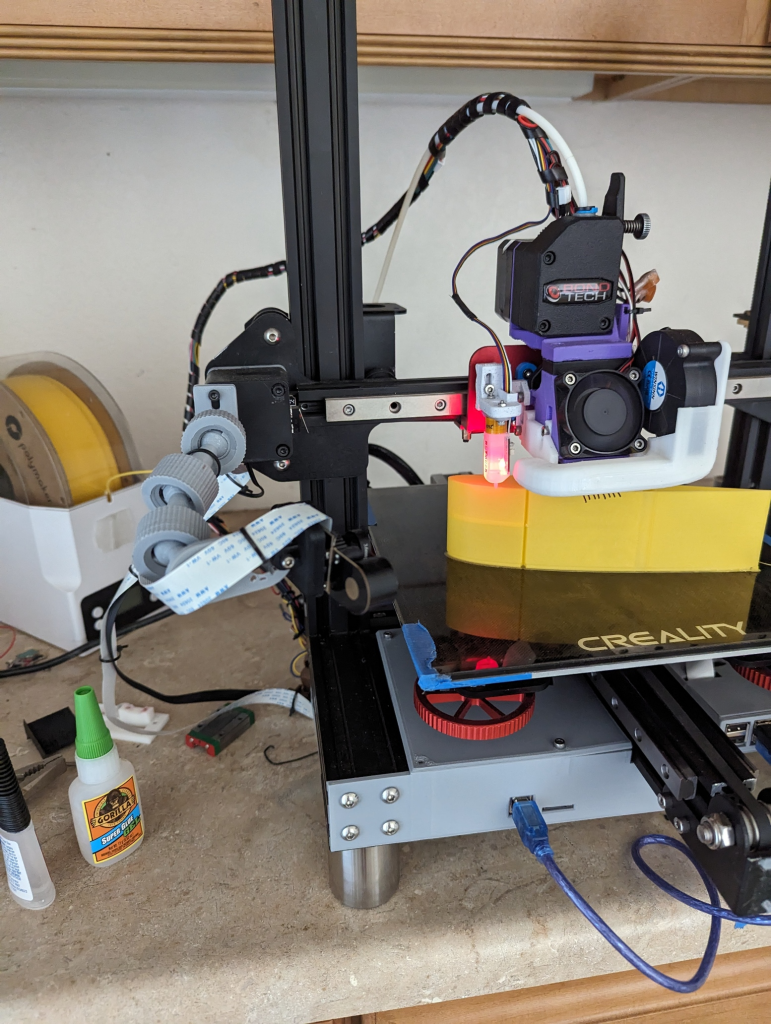
In total, I spent about 68 hours of just printing. That also includes any mistake prints and or extra parts, or multiple of the same parts, and other materials printed like the landing gear and tires. All the pieces were printed on my heavily modded Ender 3; I believe a stock Ender 3 (or similar-priced printer) should be able to print this material just fine. I would advise printing in 1.15 extrusion multiplier (or flow) in your slicer and printing a bit lower temps, at about 195°C for the hotend.


If you don’t have a 3D printer, I recommend a Sovol SV06 for a cheap option or a Bambu Lab P1P if you want to go for a more quality and hassle-free brand.
At first, I ordered the wrong parts; the ESC was made for drones and hadn’t come with a 5v line that was standard for RC planes. I returned it and got the correct one. (List of my configuration below)
(affiliate links)
The only problem now is that I have no idea how to fly an RC plane. I watched a couple of videos to check I got the directions right and propellor was working correctly, (thanks to the folks in PW3D’s discord channel, I could ask noobie questions and get informative answers.)
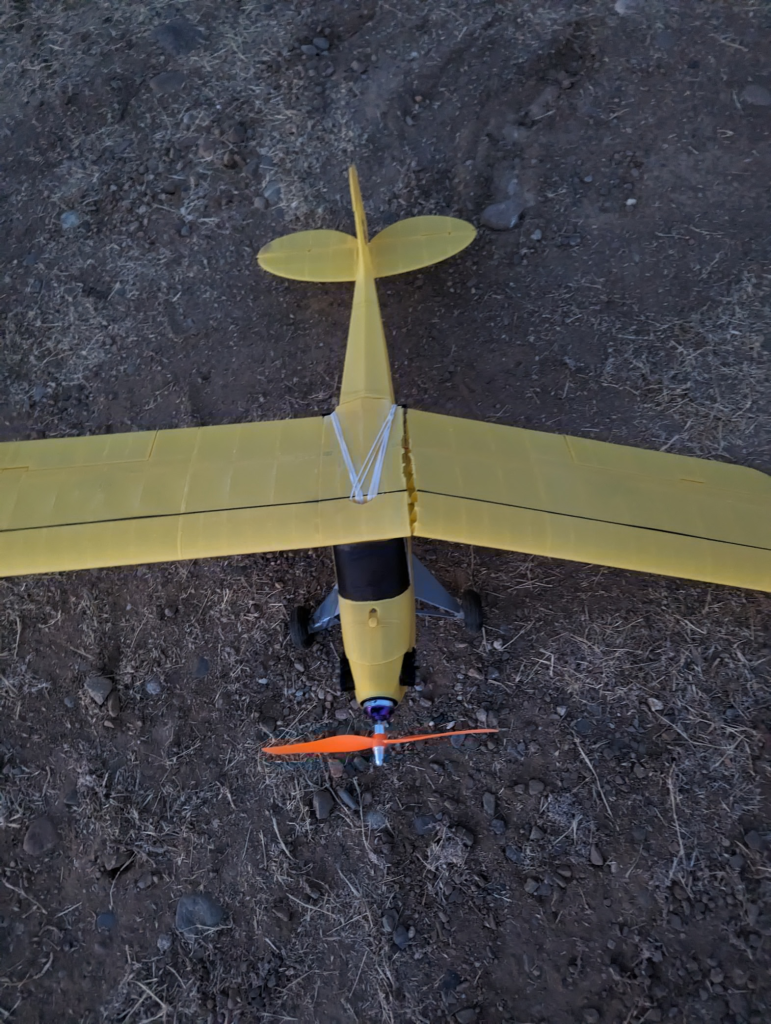
I tried to fly and crashed it almost immediately, which I believe is due to user error and not a design flaw. At the moment, I need to repair it and attempt another take-off again. I can say I got it in the air (6-9 feet at least) with 75% throttle but had not correctly lowered the throttle, and it came straight down, cracking the wing assembly and a couple of other parts of the main body.

Crashed on Aug 19th, 2023
That’s been my experience so far on 3D printing an Airplane. If you have any questions or thoughts, leave them in the comments box below, and I’ll get back to you.
*Disclaimer: Most products linked are affiliate links and will support me if purchased through them.

Leave a Reply